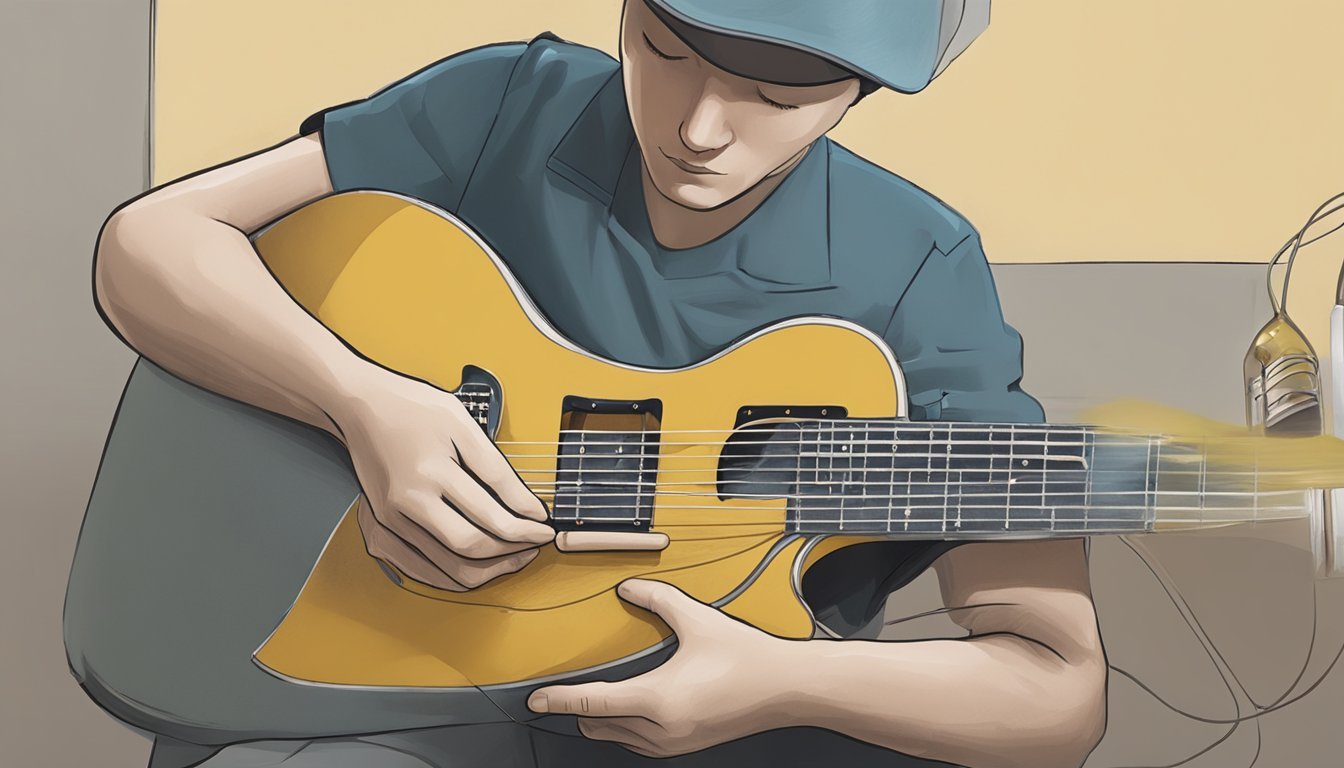
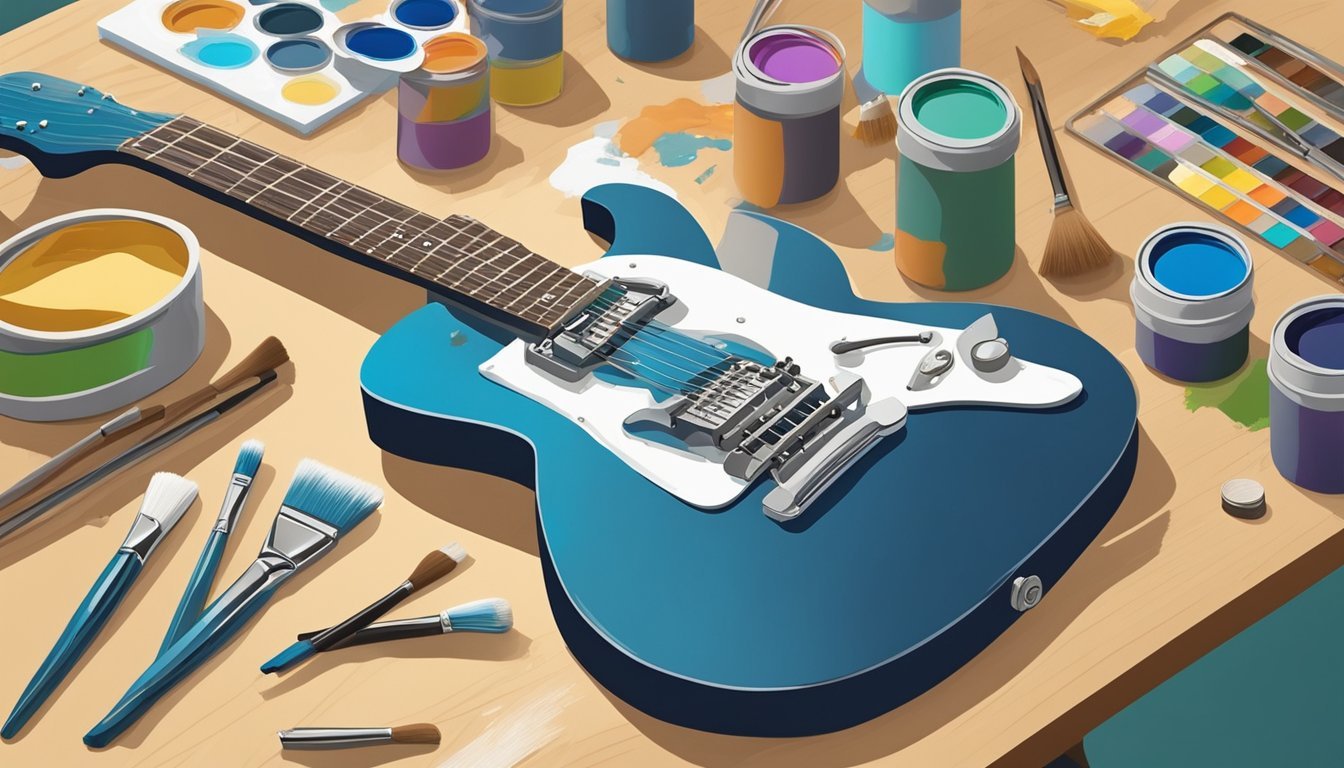
Repainting your guitar can be a fun and rewarding project. You can give your instrument a fresh look and make it truly yours with the right tools and steps. Whether you want to change the color or fix up some wear and tear, knowing how to properly paint your guitar is essential.
This guide will walk you through the process, from preparing your guitar to adding those final touches.

You don’t need to be a professional to achieve a great finish.
With a bit of patience and care, you can transform the appearance of your guitar.
Each step in this guide will help ensure you get the best results possible, making your guitar a unique expression of your style.
So, get ready to roll up your sleeves.
It’s time to learn how to repaint your guitar and give it the makeover it deserves!
Key Takeaways
- Prepare your guitar by taking it apart and removing old paint.
- Use primer before adding your chosen color for a smooth finish.
- Finish with a protective coat to keep your new paint looking great.
Preparing Your Guitar
Before you start repainting your guitar, it’s important to prepare it properly.
This involves disassembling the guitar, sanding the surface, and cleaning it up.
Each step is crucial for a smooth and successful paint job.
Disassembling the Guitar
To get started, you’ll need to carefully disassemble your guitar.
Begin by removing the strings using wire cutters.
Just clip them away, and make sure to keep the pieces for later if you plan on reusing them.
Next, use a screwdriver or allen wrenches to remove the hardware like knobs and pickups.
Don’t forget to take off the neck as well.
This helps you avoid any unwanted spills.
Remember to keep all screws and small parts in a safe spot.
Sanding the Surface
Once your guitar is disassembled, it’s time to sand the surface.
Use coarse sandpaper to remove the old finish.
If you have an orbital sander, it can speed this process up, but hand sanding works too.
After you’ve stripped off the old finish, switch to fine grit sandpaper.
This will smooth out the surface and prepare it for painting.
Make sure to sand along the grain of the wood for the best results.
Use a dust mask to protect yourself from inhaling any particles, and a vacuum cleaner can help clean up the dust as you go.
Cleaning and Taping
Now that sanding is complete, it’s important to clean the guitar thoroughly.
Use a tack cloth to remove any dust and debris left behind.
This helps the paint adhere better and gives you a cleaner final look.
After cleaning, you should tape off any areas you don’t want to paint.
Use masking tape to cover areas like the fretboard and any hardware that’s still attached.
This step is key to achieving clean lines and a professional finish when you finally paint your guitar.
Priming and Painting
Getting the right finish on your guitar starts with proper priming and painting techniques.
This will help achieve a smooth, even look that enhances the instrument’s appearance.
Applying the Primer
Before you begin painting, applying a good primer is crucial.
A white primer is often best for colorful designs, as it brightens the final paint colors.
Make sure your guitar’s surface is clean and free of old paint or grime.
Using a spray gun or spray paint can give you an even coat.
Aim for light, consistent layers to avoid drips.
Wait for the primer to dry completely before moving on to painting.
Typically, a water-based primer works well, but a nitrocellulose option is also good for a classic feel.
Remember to lightly sand the primer with fine-grit sandpaper for smoothness.
This step ensures better paint adhesion, making your paint job look professional.
The Art of Painting
When it comes to actually painting your guitar, choosing the right type of paint is key. Acrylic or enamel paints are popular choices, offering durability and vibrant colors.
If you’re going for a metallic finish, look for paint labeled as such.
Using a paint spray gun can help you create gradients or achieve that unique look you want.
Light layers work best, so start with a base coat and allow it to dry thoroughly before adding more layers.
Consider using brushes for detailed work or touch-ups.
Mixing colors can also provide depth and character.
For a natural look, you might want to go easy on the color, allowing some of the original wood grain to show through.
Remember to let each layer dry completely before continuing.
Finishing Touches

Now that you’ve painted your guitar, it’s time to focus on the finishing touches.
This stage is all about achieving a polished look and reassembling your instrument properly.
Applying the Clear Coat
Applying a clear coat is essential for protecting your paint job and giving it that professional look.
Use a clear lacquer designed for guitars to ensure durability.
Start by shaking the can well.
Hold it about 12 inches away from the surface and spray in light, even coats.
Aim for about three to four thin layers rather than one thick one.
Ensure you follow the recommended drying times between each coat.
Once fully dry, you should see a glossy finish that highlights your custom design.
A good clear coat helps your guitar withstand wear and gives it a factory appearance.
Sanding and Buffing
After the clear coat is dry, it’s time for sanding and buffing to eliminate any imperfections.
Use ultra-fine sandpaper pads or a sanding sponge to gently smooth out the surface.
Be careful not to sand too aggressively.
Lightly go over the area until it feels smooth.
After sanding, wipe the surface with a tack cloth to remove dust.
Next, grab a buffing wheel and some polish.
Buff the surface in circular motions to achieve a shiny, professional finish.
This step significantly enhances the depth of the paint job, making it pop and feel smooth to the touch.
Reassembling
Once you’re satisfied with the finish, it’s time to reassemble your guitar.
Gather all your hardware, like the bridge studs, potentiometers, and pick guard.
Make sure you have a soldering iron on hand if you need to reconnect any wires.
Take your time to ensure everything goes back in the correct order to avoid issues later.
After all the components are secured, double-check each part to ensure a snug fit.
This final step will help personalize your guitar and ensure it plays as beautifully as it looks.
Additional Tips and Maintenance
When repainting your guitar, preparation is key. Remove the strings and take off any hardware like pickups, knobs, and the neck if possible.
This helps you paint without worrying about stains.
Use a drop cloth to protect your working area from spills and drips.
It keeps everything clean and prevents damage to surfaces.
Before you start painting, check for blemishes or imperfections on the guitar body.
Use mineral spirits to clean the surface and remove old paint if necessary.
Sand the area lightly to create a smooth surface.
Once the surface is prepped, you can begin applying your new paint.
For a classic look, consider using a deep black shade, which can evoke the iconic style of many celebrated guitars.
If you’re looking for inspiration, research ‘how to play paint it black‘ to see how this color has been embraced in music and art, both in visual aesthetics and thematic expression.
Choose your tools wisely.
A spray gun can give you a smooth finish, but you might prefer hand painting for a more personalized look.
Just remember to keep the paint at an even distance to avoid streaks.
When applying paint, work with thin coats.
Let each coat dry before adding another, especially when using clear coats.
This helps avoid pores or bubbles forming under the paint.
After the paint job, don’t forget about regular maintenance.
Store your guitar in a safe place to avoid scratches and stains.
Regularly clean it to keep the finish looking fresh.
Repainting your guitar can be a cost-effective way to customize your instrument while keeping it looking great for years.
Frequently Asked Questions
Repainting your guitar can bring new life to your instrument.
Here are answers to some common questions that can help guide you through the process.
What type of paint works best on guitars?
You’ll want to use paint specifically designed for wood or musical instruments.
Nitrocellulose paint is popular for its smooth finish.
Acrylic and polyurethane are also good options.
These paints adhere well and dry quickly, making them great choices for guitar projects.
Do I need to sand down my guitar before repainting?
Yes, sanding is an important step.
It helps remove old paint and creates a smooth surface for the new paint to stick to.
Use 220 grit sandpaper to sand down the entire guitar, including the body and neck, before you begin the painting process.
Can you give me some cool ideas for painting my guitar?
Get creative with your design! You could try a simple solid color or go for intricate patterns.
Some people like to use stencils for designs or even decals.
Think about incorporating your favorite colors or themes to make it personal and unique.
How can I repaint my guitar at home?
Start by removing all hardware and cleaning the guitar thoroughly.
Sand the surface to prep it for painting.
Then, apply thin coats of paint, allowing each to dry completely.
Remember to sand lightly between coats for a smooth finish.
Is it possible to paint a guitar without dismantling it?
While it’s technically possible, it’s not recommended.
Dismantling your guitar protects the hardware and allows you to paint more accurately.
If you skip this step, you risk getting paint on parts that shouldn’t be painted.
How much does it typically cost to have a guitar professionally repainted?
The cost can vary widely based on the shop and the type of finish you want.
You can expect to pay anywhere from $150 to $500 or more for a professional job.
It’s a good idea to get quotes from local shops to find the best deal for your needs.

