
Learning to play the G chord on the guitar is a key step for every beginner.
Mastering this chord opens up a world of possibilities in your playing and song choices.
In this post, you’ll discover various techniques and tips that will help you strum the G major chord with confidence.
Whether you’re just starting or looking to refine your skills, understanding the G chord is essential.
You’ll find different shapes, finger placements, and practice methods that suit your level.
With some practice, you can play this popular chord easily and incorporate it into your favorite songs.
Keep reading to find detailed instructions and helpful advice that will guide you through the process.
Soon, you’ll be able to impress your friends with your guitar skills and play along to your favorite tunes!
Key Takeaways
- The G chord is a fundamental chord for guitar beginners.
- Various shapes and finger placements can make it easier to play.
- Regular practice will help you master the G chord quickly.
Understanding the Basics
When you start playing the G chord, it helps to know a few foundational concepts about the guitar and chords.
Understanding the anatomy of the guitar, how chords work, and proper finger placement will set you up for success.
The Anatomy of the Guitar
Your guitar has several parts, including the body, neck, and headstock, but focus on the neck and strings for now.
The neck is where you will press down on the strings to create different notes.
The strings run from the bridge to the headstock.
The six strings are usually numbered from the bottom up, with the first string being the high E. Each string produces a different note when plucked.
The frets are the metal strips on the neck.
When you press a string down behind a fret, it shortens the vibrating length, altering the pitch.
This is essential for playing chords like G.
Introduction to Guitar Chords
Guitar chords are combinations of two or more notes played together.
For beginners, it’s helpful to start with open chords.
An open chord uses at least one open string, meaning you’re not pressing down on it.
For the G chord, you will play some notes on the frets while also allowing others to ring open.
The G major chord has a bright sound, and it’s one of the most commonly used chords in music.
Understanding intervals is also crucial.
When you play a G chord, you’re combining specific notes that form a triad.
This triad includes the root (G), the major third (B), and the perfect fifth (D).
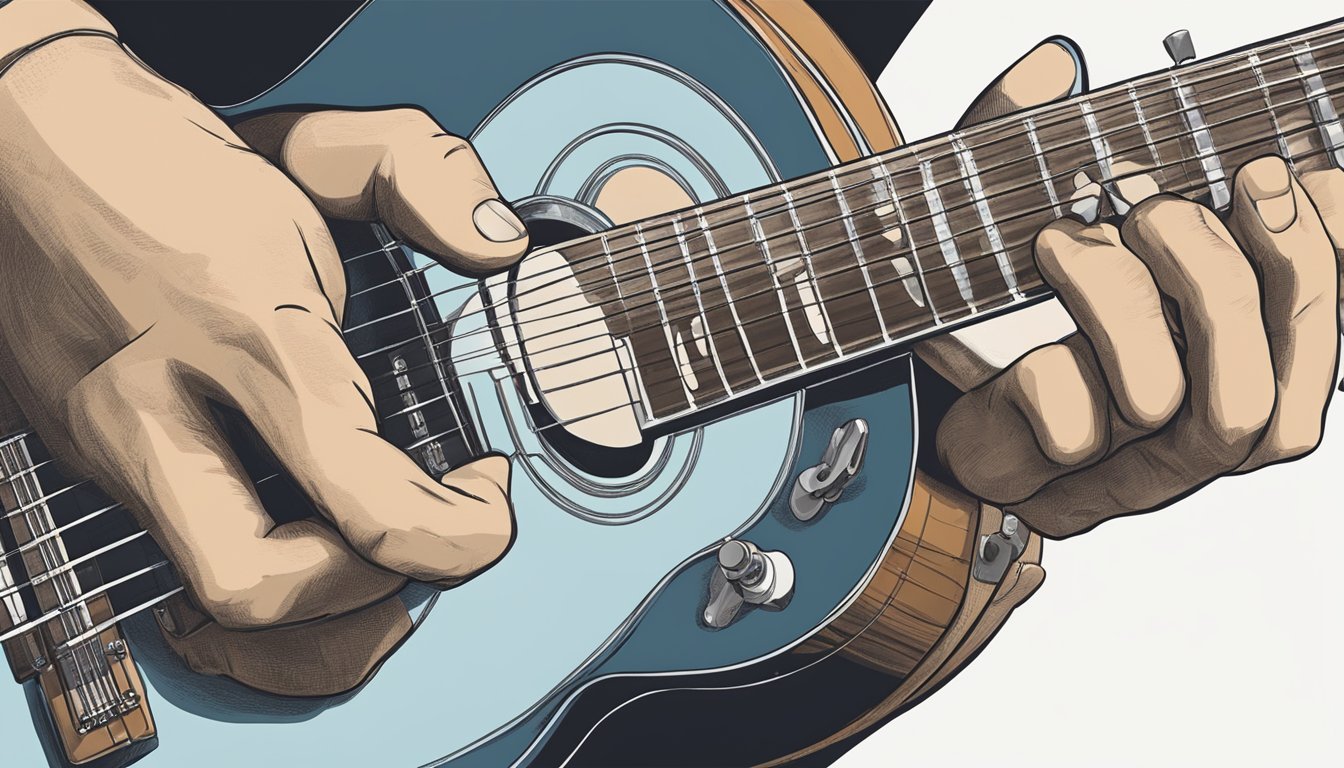
Finger Placement and Pressure
Good finger placement is key to playing the G chord cleanly.
You’ll typically use your index finger, middle finger, ring finger, and sometimes your pinky.
For the standard G chord, place your fingers as follows: the index finger goes on the 2nd fret of the A string, your middle finger on the 3rd fret of the low E string, and your ring finger on the 3rd fret of the high E string.
Make sure your fingers are curled and pressing down just behind the frets.
This ensures you get a clear sound without any buzzing.
It might take some time to find the right pressure, but don’t get discouraged.
G Chord Mastery
Mastering the G chord is essential for any guitarist.
It forms the backbone of many songs.
You’ll learn how to play the G Major chord and discover variations that can enhance your playing style.
Playing the G Major Chord
To start with the G Major chord, place your fingers like this:
- Middle finger on the 3rd fret of the low E string (6th string)
- Index finger on the 2nd fret of the A string (5th string)
- Ring finger on the 3rd fret of the B string (2nd string)
- Pinky on the 3rd fret of the high E string (1st string)
Leave the D and G strings open.
Strum all six strings for a full G chord sound.
It may take time to build muscle memory and strength in your fingers, so practice regularly.
Chord Variations and Transitions
Once you are comfortable with the G chord, explore variations like the G7 and G6.
- G7: Add your ring finger to the 1st fret of the high E string.
- G6: Use your ring finger on the 3rd fret of the B string, letting the high E string ring open.
Transitioning between chords, like moving from G to Cadd9, can improve your dexterity.
Practice those shifts slowly at first, focusing on finger placement and ensuring clean strumming.
This will boost your confidence and fluency in playing songs.
Keep practicing to make the G guitar chord a natural part of your playing!
Advancing Your Guitar Skills
As you get comfortable with the G chord, it’s time to expand your skills.
Incorporating it into songs, exploring other key chords, and focusing on producing a clean sound can greatly enhance your playing.
Incorporating G Chord into Songs
Practicing the G chord with songs you love makes learning fun.
Many popular songs, such as “Wonderwall” by Oasis and “Good Riddance” by Green Day, prominently feature the G chord.
Try these common progressions that include the G chord:
- G – C – D
- G – Em – C – D
- G – G7 – C
These combinations will help you get familiar with chord changes.
Start slow and focus on making each chord sound clear.
Use a chord diagram to visualize finger placement.
Gradually increase your speed as you become more comfortable.
Exploring Other Key Chords
Understanding other chords like C, D, and Em can open up a lot of new songs for you.
Using the E shape for a full barre chord can give you a fuller sound.
You can also explore the G6 chord for a sweet twist on the classic G sound.
Practice switching from G to these chords.
This will help you develop finger strength and improve transition speed.
Pay attention to the tension in your fingers; too much can lead to buzzing sounds.
You can also learn the D chord shape to play songs in other keys, adding more variety.
Tips for Clean and Clear Sound
Producing a clean sound on your G chord takes practice.
Ensure your fingers are pressing down firmly and that they aren’t touching adjacent strings.
This can prevent buzzing, creating a clearer sound.
Pay attention to your strumming technique too.
A light touch can help avoid unwanted strings ringing out.
Use a metronome to keep rhythm, especially when playing pop and rock songs.
Keep your fingers relaxed to avoid tension.
Common mistakes include pressing too hard or incorrectly positioning your fingers.
Regularly check your finger placement against a chord diagram to ensure accuracy.
With time, you’ll notice significant improvements in your playing clarity.
Frequently Asked Questions
If you’re learning how to play the G chord, you probably have some questions.
Getting comfortable with finger placement and making smooth transitions is key for beginners.
Let’s dive into the common ones.
One common question is about where exactly to place your fingers on the fretboard to achieve the best sound.
It’s important to ensure that each finger is pressing down firmly and that you’re not accidentally muting any strings.
Practicing consistently will help you gain confidence in how to play a G chord and master smooth transitions to and from other chords in your playing repertoire.
So what’s the easiest way to get that G chord down?
Start by using the standard finger placement.
Put your middle finger on the 3rd fret of the low E string, your index on the 2nd fret of the A string, and your ring finger on the 3rd fret of the B string.
For many, this is the simplest way to start playing the G chord.
Any tips on making that G chord sound super crisp?
Ensure you’re pressing down firmly on the strings.
Also, strum all six strings clearly.
If a note sounds muted, check your finger placement and adjust.
Keeping your fingers close to the fret might help too.
What’s the secret to switching to a G chord super quick?
Practice switching between the G chord and other common chords like C and D. Slow down initially, then gradually speed up.
Muscle memory will build over time, allowing for faster switches during songs.
Can you play a G chord with just two fingers or what?
Yes, you can play a simpler version of the G chord using just two fingers.
For example, you can place your middle finger on the 3rd fret of the low E string and your ring finger on the 3rd fret of the B string.
This gives you a basic G sound.
Do I really need all my fingers to play a G chord, or can I skip one?
While using all four fingers gives a fuller sound, you can skip one or two if that’s easier for you at first.
Don’t worry if you can’t use all your fingers right away.
Build up to it as you get more comfortable.
How’s that G chord played in different music styles?
The G chord stays the same, but how you play it might change.
In country music, for example, you might hear quick strumming.
Meanwhile, in rock, it could be power chords or adding distortion.
Experiment and find what fits the style you enjoy!