Learning how to play the E chord on guitar is a great step for any musician.
This chord is one of the most important basics you can master, as it appears in countless songs across different genres.
Whether you’re a beginner or looking to refresh your skills, understanding the E chord will give you a solid foundation as you progress.

You’ll be introduced to various ways to play this chord, including open positions and barre variations.
With practice, you will discover tips that make learning the E chord easier and more enjoyable, allowing you to incorporate it into your playing quickly.
Plus, the E chord’s versatility means it will always be useful in your guitar journey.
Get ready to enhance your guitar playing and impress your friends with your new skills!
Key Takeaways
- The E chord is essential for beginner guitarists.
- Mastering variations of the E chord expands your playing options.
- Regular practice and techniques can improve your chord transitions.
Getting Started with the E Chord
Learning the E chord is a great first step for any guitarist.
It’s simple and a key part of many songs.
You’ll get familiar with finger positioning and how to play in the open position.
Understanding the Basics
The E major chord is one of the foundational chords you’ll learn on the guitar.
It is often called the E chord, and it’s beginner-friendly.
This chord uses all six strings, making it a full, rich sound.
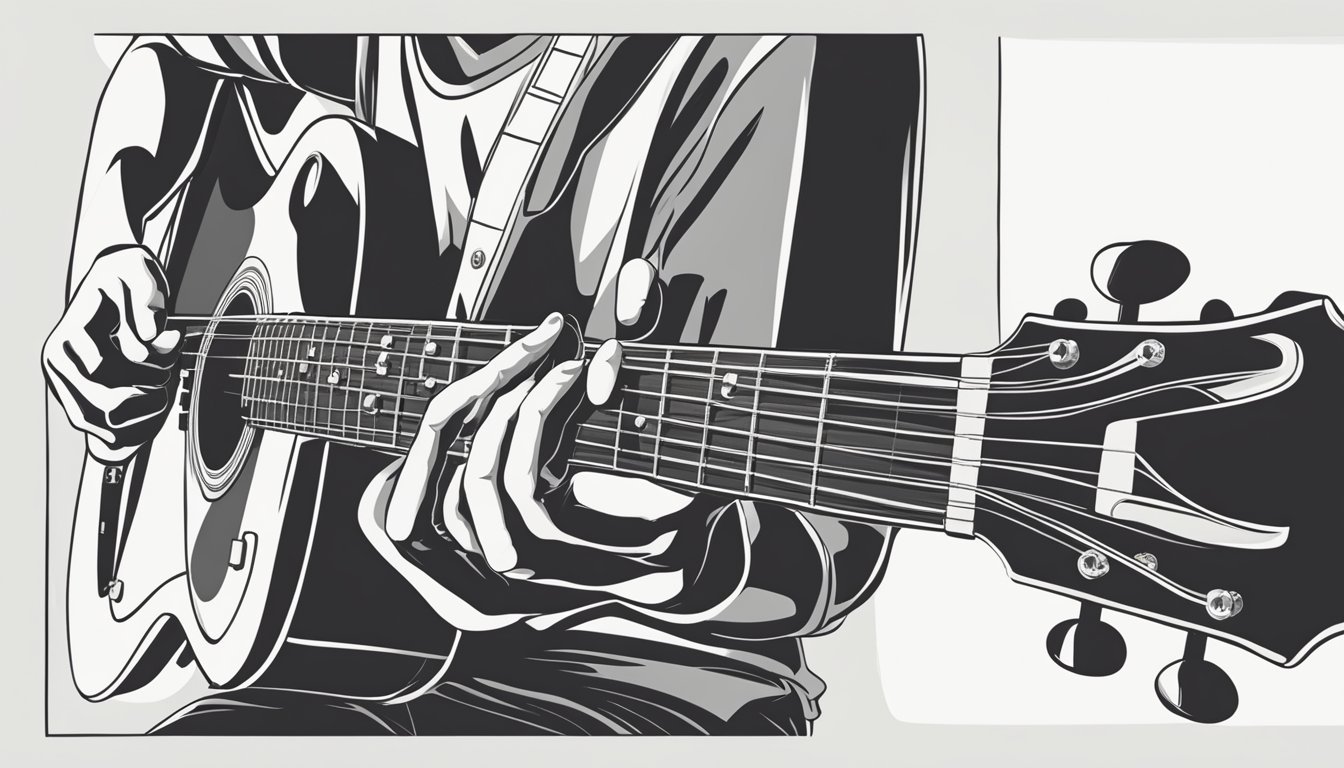
In chord diagrams, you will see the E chord represented with dots showing where to place your fingers.
The vertical lines represent the strings, and the horizontal lines show the frets.
This visualization helps you understand which strings to strum and which to press down.
Positioning Your Fingers
For the E chord, proper finger positioning is key.
Here’s how to place your fingers:
- Index Finger: Lay it flat on the 1st fret of the G string (3rd string).
- Middle Finger: Place it on the 2nd fret of the A string (5th string).
- Ring Finger: Position it on the 2nd fret of the D string (4th string).
When you strum, make sure to hit all six strings.
Practice pressing down firmly to get a clear sound.
If you hear buzzing, adjust your fingers to avoid accidental fret touches.
Playing the E Chord
Playing the E chord is a fundamental skill for guitarists.
Mastering this chord will help you build muscle memory and make transitioning to other chords smoother.
Strumming the E Chord
To strum the E chord, start by placing your fingers correctly.
Use your index finger on the 1st fret of the G (3rd) string, your middle finger on the 2nd fret of the A (5th) string, and your ring finger on the 2nd fret of the D (4th) string.
Make sure all six strings are clear.
When it comes to strumming, a downward motion is the way to go.
Strum from the low E string down to the high E string.
Ensure you use even pressure to get a full sound.
If you hear any buzzing, check your finger placement and press down harder if needed.
Practicing regularly will help strengthen your muscle memory.
Transitioning Between Chords
Transitioning between the E chord and other chords can be tricky at first, but practice makes perfect.
A good exercise is to shift from E to D, then to C, and on to F. Try this progression slowly at first, aiming for clarity with each strum.
Focus on moving your fingers efficiently.
Lift only the fingers you need to while keeping the others in position.
This technique helps maintain your rhythm and keeps the music flowing.
With consistent practice, you’ll find these transitions becoming smoother and faster.
Advanced E Chord Techniques
Once you’ve got the basics down, it’s time to explore some advanced techniques that can really enhance your guitar playing.
These techniques include using barre and power chords, along with incorporating the E chord into your favorite songs.
Additionally, experimenting with fingerpicking can add a unique texture to your music, allowing you to create intricate patterns that will captivate your listeners.
It’s also beneficial to learn how to play em7 chord, as this versatile chord can enrich your sound and fit seamlessly into various styles.
By integrating these advanced techniques into your practice routine, you’ll unlock new creative possibilities and elevate your overall guitar performance.
Exploring Barre and Power Chords
Barre chords, like the E barre chord, can give you great versatility.
To play an E barre chord, press your index finger across the entire fretboard at the 7th fret, then shape the E major chord with your other fingers.
This lets you play the same chord in different positions.
Power chords are another wild card.
For an E power chord, you can use just the root and fifth notes: E (first string) and B (second string).
This technique is common in rock songs.
Try different strumming patterns to see how they affect the sound.
Incorporating the E Chord into Songs
The E chord fits well in many pop and rock songs.
You can mix it with its variations, such as E7 and E minor, to create different moods.
For example, E7 adds a nice bluesy feel, making it great for transitions.
Don’t forget about muted strings! They can add a funky rhythm to your strumming pattern.
Practice switching between E major and its variations in a song to find what sounds best.
This not only sharpens your skills but also makes your playing more engaging.
Practice Tips and Techniques
Getting the E chord down involves consistent practice and awareness of your technique.
By focusing on muscle memory and avoiding common pitfalls, you’ll improve your guitar playing skills effectively.
Building Muscle Memory and Accuracy
To really nail the E chord, you want to build muscle memory.
Start by placing your fingers correctly:
- Index finger on the 1st fret of the G string.
- Middle finger on the 2nd fret of the A string.
- Ring finger on the 2nd fret of the D string.
Once your fingers are in place, strum all six strings.
Do this slowly at first to ensure each note rings out clearly.
Using a metronome can be helpful.
Start at a slow tempo and gradually increase as you get comfortable.
Tip: Repeat this exercise daily.
Over time, your fingers will remember where to go without thinking.
Avoiding Common Mistakes
Common mistakes, like muted strings or incorrect finger placement, can frustrate you.
Here are some tips to avoid these issues:
- Check Your Hand Position: Make sure your thumb is behind the neck. This allows better finger reach.
- Listen for Clarity: If any strings sound muted, adjust your finger placement. Ensure you’re pressing down firmly on the frets.
- Review Finger Angles: Your fingers should be curved, allowing them to press down the strings cleanly without hitting others.
Practicing in front of a mirror can help you see your hand placement.
A little attention to detail makes a big difference in your sound when playing the E major scale or other chords.
Keep it relaxed and enjoy the journey!
Frequently Asked Questions
Playing the E chord can bring up some questions, especially if you’re just starting out.
Here are answers to common queries that can help you get started.
What fingers should I use for the E major chord on guitar?
For the E major chord, you’ll typically use three fingers.
Place your second finger (middle) on the second fret of the A string, your third finger (ring) on the second fret of the D string, and your first finger (index) on the first fret of the G string.
Can you show me a step-by-step guide to playing the E chord?
Sure! Here’s how to play the E chord step by step:
- Place your second finger on the second fret of the A string.
- Put your third finger on the second fret of the D string.
- Position your first finger on the first fret of the G string.
- Strum all six strings together.
What’s the difference between the E major and E minor chords on guitar?
The main difference is in how you position your fingers.
For the E major chord, you press down all the same strings, but for the E minor chord, you simply lift your first finger off the G string.
This gives the E minor a darker sound compared to the brighter tone of the E major.
Any tips on how to switch to the E chord quickly while playing a song?
Practice is key for quick switches.
Start by playing a chord you like before the E chord.
Focus on lifting your fingers and positioning them on the E chord smoothly.
Regular practice with common progressions can help you switch faster over time.
Where do I place my fingers on the fretboard for the E chord?
You’ll place your fingers in this way: your second finger goes on the second fret of the A string, your third finger on the second fret of the D string, and your first finger on the first fret of the G string.
Make sure your fingers are pressing down firmly against the fret.
How do I know if I’m playing the E chord correctly on my guitar?
To check, strum all six strings.
If you hear a clean, bright sound without any muted notes, you’re doing it right.
If some strings sound dead or dull, adjust your finger positions to ensure they’re pressing down firmly on the correct frets.