
Learning how to play the G chord on guitar is a key skill for any musician.
Many songs use this chord, making it essential for beginners like you to master.
Once you get the hang of it, you’ll find many opportunities to use the G chord in your playing.
You don’t need to be an expert to start.
With just a few simple finger placements, you can strum this vibrant chord and start playing along with your favorite tunes.
Understanding where to position your fingers and how to strum correctly will give you a solid foundation to build your skills.
As you continue to practice, you’ll discover the G chord’s versatility and how it can enhance your playing style.
Key Takeaways
- The G chord is essential for beginner guitarists.
- Proper finger placement is key to playing the G chord smoothly.
- Mastering this chord opens up many song possibilities.
Getting Started with the G Chord
The G chord is one of the most important chords to learn on the guitar.
It can take some practice to get it right, but with the right techniques, you’ll be playing it in no time.
Let’s check out chord diagrams and finger placement techniques that will help you master this essential chord.
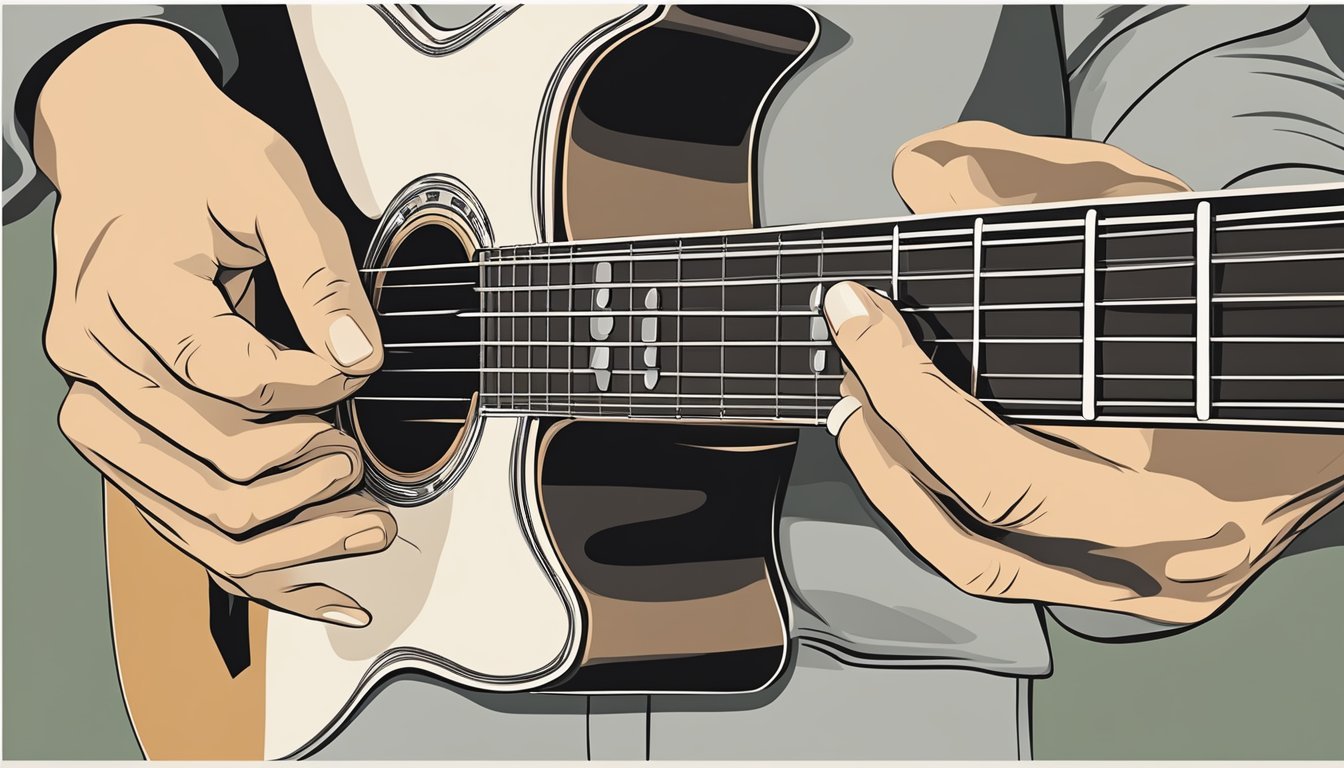
Understanding Chord Diagrams
Chord diagrams are visual tools that show you where to place your fingers on the fretboard.
Each vertical line represents a string, while horizontal lines indicate the frets.
A circle means you should play that string, and an “X” means you don’t strum it.
For the G chord, you’ll see an open chord shape.
In the common open position G chord, your fingers will cover the 3rd fret of the low E (6th) string, the 2nd fret of the A (5th) string, and the 3rd fret of the high E (1st) string.
Familiarizing yourself with these diagrams is key to playing smoothly.
Finger Placement Techniques
Getting your finger placement right is crucial for a clean sound.
Start with the 1-finger version if you’re a beginner.
Just use your index finger to cover the second fret of the A string, leaving other strings open.
As you get comfortable, try the full G chord shape:
- Middle Finger: 3rd fret of the E string
- Index Finger: 2nd fret of the A string
- Ring Finger: 3rd fret of the B string
- Pinky Finger: 3rd fret of the high E string
Make sure your fingers press down firmly, but not too hard.
Practice switching to and from other guitar chords to build up your strength and dexterity.
The Role of the G Chord in Music
The G chord plays a key role in many music styles.
It often serves as a starting point for beginners and is fundamental in various chord progressions.
Knowing how it fits into different keys and songs will help you understand your favorite music better.
G Chord in Different Keys
When you think of the G chord, it’s important to know it’s not just a standalone chord.
It’s part of the G major scale, which includes the notes G, A, B, C, D, E, and F#.
The G major triad consists of the root (G), the major third (B), and the perfect fifth (D).
In the key of G, this chord creates a lot of musical tension and resolution.
You’ll often see it in common chord progressions like I-IV-V, which in the key of G translates to G-C-D. These combinations are essential for creating popular songs.
Popular Songs Utilizing the G Chord
Many classic and modern songs feature the G chord due to its versatility.
For instance, consider songs like “Sweet Home Alabama” and “Wonderwall.” Both use the G chord in their progressions.
You’ll also find the G major chord in the G major pentatonic scale and G major blues.
These scales add a unique flavor to melodies.
In pop, rock, and country music, the G chord is often paired with the C and D chords, creating smooth transitions.
Knowing these songs will help you recognize the G chord’s impact in music.
Advanced G Chord Techniques
Once you’ve got the basics down, it’s time to explore more advanced G chord techniques.
You can improve your playing by mastering barre chords and generating interesting variations with the G chord.
These skills will add depth and versatility to your guitar playing.
Transitioning to Barre Chords
Transitioning from the open G chord to a barre chord can seem tricky at first, but it’s a great way to expand your skills.
The G barre chord is played by pressing down all the strings across the third fret with your index finger.
Here’s a quick reference to get you started:
- Root Note: 3rd fret of the E string
- Finger Positions:
- Index finger (1) across all strings
- Ring finger (3) on the 5th fret of the A string
- Pinky finger (4) on the 5th fret of the D string
- Middle finger (2) on the 4th fret of the G string
Practice moving between the open G and the barre G. This will help you get comfortable with using your index finger as a “bar.” Don’t forget, mastering barre chords opens up a world of other chord shapes, like G6 and G7, making your playing even richer.
Generating Variations with the G Chord
Generating variations with the G chord can keep your music fresh and interesting.
Start by experimenting with common variations, such as G6 and G7.
Here are a few chord variations you can try:
-
G6 Chord:
- Keep your ring finger on the 3rd fret of the low E string.
- Use your middle finger on the 2nd fret of the A string.
- Leave your D string open.
- Keep the B and high E strings open, too.
-
G7 Chord:
- It’s similar to the G major, but lift your middle finger off the B string to let it ring open.
Play around with these variations during your practice sessions.
This will not only add flair to your playing but also give you more options when you’re jamming or writing songs.
Strumming and Beyond
When you’re playing the G chord, strumming technique and chord substitutions can really enhance your guitar experience.
Getting these elements right can make your playing sound much smoother and more interesting.
Perfecting Strumming with the G Chord
Strumming is key to making your G chord sound great.
Start by holding the chord firmly.
Use a relaxed wrist and strum with a fluid motion.
Try downstrokes first, then mix in upstrokes.
A common strumming pattern could be:
- Down, Down, Up, Up, Down, Up
Practice this pattern slowly.
Gradually increase your speed as you get comfortable.
Don’t hesitate to experiment with different strumming styles.
Whether you have an acoustic or electric guitar, your technique can really shine through.
Remember, it’s not just about the rhythm; it’s how you bring the chord to life.
Experimenting with Chord Substitutions
Once you master the G chord, try some chord substitutions to spice things up.
For example, you can substitute a C chord or D chord when playing a progression.
You also can try using an E minor chord for a softer sound.
This will allow you to change the mood of your song.
If you’re feeling adventurous, play around with a G minor for a unique twist.
Don’t forget to practice your chord changes.
Smooth transitions keep the music flowing.
The goal is to find combinations that work for you and fit the songs you love.
Explore and have fun!
Frequently Asked Questions
Playing the G chord can seem tricky at first, but with the right steps and tips, you’ll get the hang of it.
Here are some common questions that can help improve your understanding and skills.
What’s the step-by-step guide to playing a G chord for newbies?
To play a G chord, start by placing your middle finger on the third fret of the low E string.
Next, put your index finger on the second fret of the A string.
Finally, place your ring finger on the third fret of the B string.
Strum all six strings together.
Can you show easier ways to fret a G chord if the standard way is tricky?
If the standard G chord is tough, try using a simpler version called the G5.
You can play it by just using your middle finger on the third fret of the low E string and your ring finger on the third fret of the B string.
This makes it easier to strum while you get used to the full G chord.
What are some common mistakes to avoid when playing the G chord?
One common mistake is not pressing down hard enough on the strings, which can cause a muted sound.
Also, avoid overlapping fingers that make it hard to strum other strings.
Make sure each note rings clearly when you strum.
After the G chord, which chords should I learn next for smooth transitions?
After mastering the G chord, learning C and D chords can help you transition smoothly.
These chords are often used together in many songs, making practicing easier and more enjoyable.
Additionally, incorporating C and D chords into your practice routine will expand your musical repertoire and allow you to play a wider variety of songs.
If you’re unsure how to play D chord, there are numerous online tutorials and resources available to guide you.
By practicing these chords regularly, you’ll build your finger strength and dexterity, making it easier to switch between them as you play.
Is there a trick to getting clear sound when strumming the G chord?
To get a clear sound, ensure your fingers are tucked and positioned correctly.
Make a conscious effort to strum from your wrist, not your arm.
This way, you’ll hit all the strings evenly and produce a clean sound.
How can I quickly switch to a G chord from other common chords?
You can practice switching between G and simpler chords like C or Em.
Use your ring finger as an anchor on the B string for a quicker transition.
The more you practice, the faster and smoother your movements will become.