
Painting your guitar can be a fun and rewarding project. With the right preparation and techniques, you can transform your instrument into a unique piece of art that reflects your personal style. Whether you’re looking to give your old guitar a fresh look or completely customize a new one, knowing the steps will make the process smoother.

Start by carefully disassembling your guitar and preparing the surface.
This will help the new paint adhere better for a cleaner finish.
Then, you can layer on paint and finish it off with a protective seal to ensure your design lasts.
Ready to unleash your creativity? Grab your tools and let’s dive into how to paint your guitar like a pro!
Key Takeaways
- Properly prepare your guitar for painting to achieve the best results.
- Apply base layers and paint carefully for a smooth finish.
- Reassemble and care for your guitar to maintain its new look.
Preparing the Guitar
Before you start painting your guitar, you need to prepare it properly.
This preparation involves several key steps, such as disassembling the parts, sanding the body, applying grain filler, and cleaning and taping everything off.
Each step ensures that the paint adheres well and looks great.
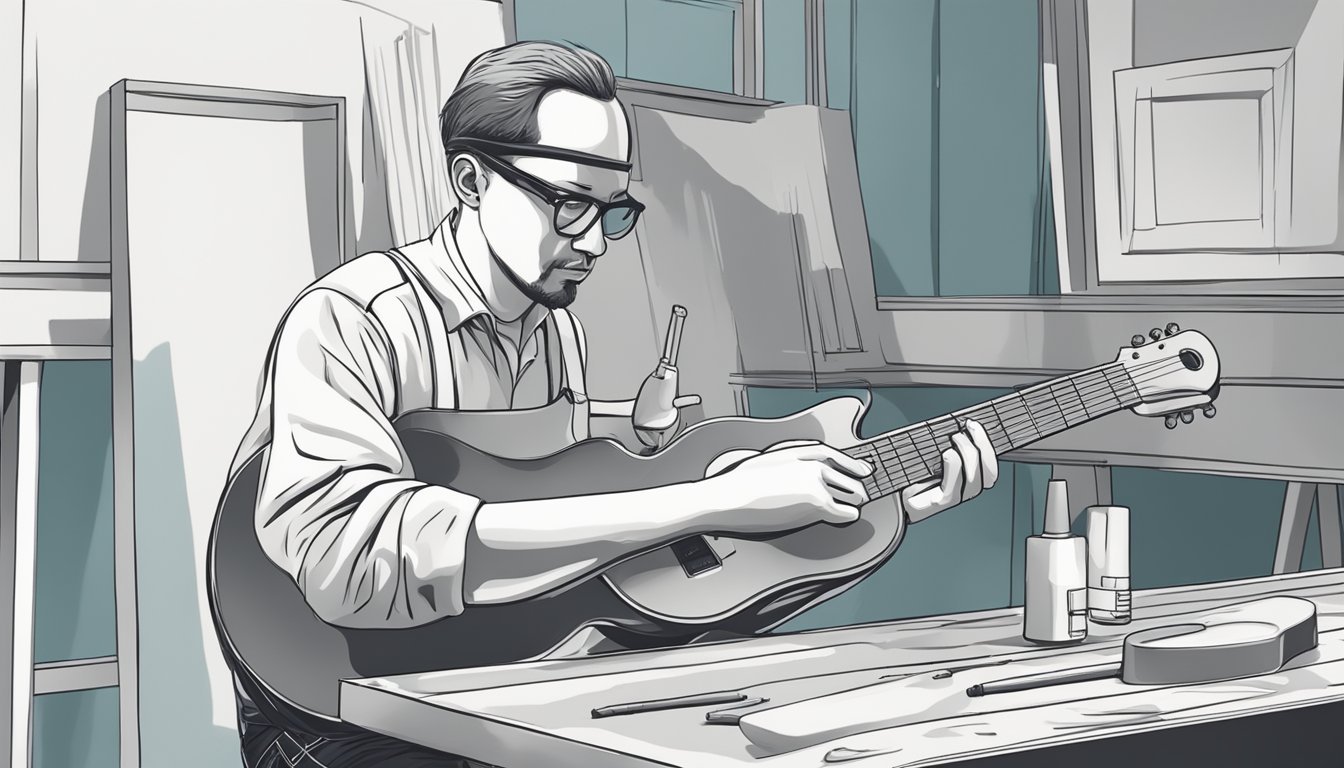
Disassembling the Parts
Start by carefully disassembling the guitar.
You want to remove everything that isn’t part of the guitar body.
This includes the strings, the neck, and any hardware like the bridge studs.
Use a screwdriver to take off the neck joint.
Note where each part goes, and keep track of the screws.
It helps to lay everything out on a drop cloth to avoid losing small parts.
Taking your time during disassembly will make the painting process much smoother.
Rushing can lead to forgotten parts which might create issues later.
Sanding the Body
Once the guitar is disassembled, it’s time to sand the body.
You’ll need a few types of sandpaper: coarse grit, medium grit, and fine grit.
Start with the coarse grit sandpaper to remove any old finish.
This helps to create a rough surface for the new paint to stick.
Switch to medium grit sandpaper to smooth out the body.
Using a sanding block or an orbital sander will give you more control.
Finally, finish with fine grit sandpaper for a smooth finish.
Make sure to get into all the curves and edges for an even surface.
Dust off the body between grits to see your progress clearly.
Applying Grain Filler
If your guitar has a noticeable grain, using grain filler can help to create a smoother surface.
This step is especially important for woods like mahogany or ash.
Apply the grain filler with a putty knife and let it sit for a bit.
After it’s set, use a sanding sponge to smooth it out.
Remember to wipe away any excess with a clean cloth.
Not only does grain filler help the appearance, but it also prevents the paint from soaking into the wood.
This means you’ll use less paint and get a better finish.
Cleaning and Taping
Once you’ve finished sanding and applying grain filler, it’s time to clean and tape the guitar.
Start by using a damp cloth to remove all the dust from sanding.
It’s important for a clean surface to help the paint adhere.
Next, use painter’s tape to cover any areas you don’t want painted, like the fretboard or hardware.
Take your time and be precise.
You can use a utility knife to trim the edges of the tape for a cleaner line.
Having everything clean and taped off will set you up for a great painting experience.
This will help create a professional look when you’re done.
Applying Base Layers
Getting the base layers right is key to a great paint job on your guitar.
This process involves applying primer and ensuring that the surface is smooth before adding color.
Priming the Guitar
To start, you’ll want to apply a good primer.
This helps the paint adhere better and gives a more even finish.
Use either a spray primer or brush on your chosen primer.
Steps to Apply Primer:
- Prepare the Surface: Make sure your guitar is clean and dry. Remove any dust or grease.
- Apply Primer: Shake the primer can well. Hold it about 12-15 inches away and spray in smooth, even strokes. Avoid drips by not staying in one spot too long.
- Dry Time: Allow the primer to dry according to the instructions. This can take a few hours, so be patient.
For best results, you might want to use wood filler for any imperfections before priming.
This can create a smooth base that looks great after painting.
Sealing and Sanding
After your primer has dried, it’s time to seal and sand the guitar.
This step is crucial for a professional look.
Sanding Process:
- Choose Sandpaper: Use fine sandpaper, around 220 grit, for the initial sanding. This will smooth out any rough areas.
- Sanding Technique: Lightly sand the primed surface. Use a circular motion or back-and-forth strokes. Make sure not to sand too hard to avoid damaging the primer layer.
- Clean Up: After sanding, wipe off any dust with a clean cloth.
Once the surface is clean, you can apply a base coat.
Make sure everything is even before moving on to the fun part—adding color!
Painting and Finishing
Getting the right paint and finish is crucial for giving your guitar a fresh look.
You’ll want to ensure even coverage and durability.
Let’s break down the steps you need to take.
Choosing Your Paint
When picking paint, consider using acrylic paint for easy application and a variety of colors.
If you’re going for a classic look, nitrocellulose finish gives a vintage feel but requires more skill to apply.
For a modern twist, polyurethane finish offers great protection.
Decide if you want solid paint for full coverage or translucent paint to let the wood grain show.
Test small amounts to see how they appear on your guitar before committing.
Applying the Paint
Before you start, make sure the surface is clean and sanded to help the paint stick.
Use a spray gun or can for a smooth, even application.
Apply thin, even coats, allowing each to dry completely—this usually takes about 20-30 minutes.
Aim for 3-5 coats to achieve full coverage.
Remember to sand lightly with fine-grit sandpaper between coats for a smoother finish.
Avoid drips by keeping a consistent distance from the surface while spraying.
Whether you’re painting a new guitar or refreshing a vintage one, precision is key.
Adding the Finish
Once your paint is dry, it’s time for the finish.
A polyurethane finish adds strength and lasts longer.
Using a spray finish works well to get an even coat.
Apply it in the same thin layers as the paint.
Allow the finish to cure fully—this can take up to 48 hours.
For a high-gloss look, you can wet sand with fine-grit sandpaper and polish after the finish hardens.
This step gives your custom paint job that extra touch, making it shine like new.
Reassembling and Care
After the paint job is done, it’s time to reassemble your guitar.
Start by carefully putting the neck back on.
Align it properly to avoid any issues.
Next, reattach any hardware you removed.
This includes pickups, knobs, and any other parts.
Make sure everything is secure but don’t overtighten.
Once the guitar is back together, it’s a good idea to clean it.
Use a soft cloth to wipe off any dust or fingerprints.
This will keep it looking fresh and new.
Consider using guitar polish for an added shine.
Just apply it sparingly and buff it out with a clean cloth.
It’ll make your guitar look amazing.
Remember to check the strings.
If they’re old or worn, you might want to replace them for better sound quality.
Fresh strings can really enhance your playing experience.
After all that, don’t forget regular care.
Clean your guitar often, especially after playing.
A little routine upkeep goes a long way in preserving your paint job and the overall condition of your instrument.
Lastly, if you painted an electric guitar, be careful with electronics while cleaning.
Avoid getting any liquids inside the pickups.
Keeping everything well maintained ensures your guitar remains in great shape for years to come.
Frequently Asked Questions
Painting your guitar can raise a lot of questions.
Here are some answers to help make your guitar painting journey smoother.
What’s the best type of paint to use on my guitar body?
The best paint for your guitar body is often acrylic paint.
It’s water-based, dries quickly, and provides good adhesion.
You can also use spray paint designed for wood surfaces for an even finish.
Can you give me some cool ideas for painting my guitar?
Think about unique designs like gradient fades, geometric shapes, or your favorite band logos.
You could also try stencils or even freehand designs if you’re feeling creative!
Is it possible to paint a guitar without disassembling it?
Yes, it’s possible to paint without fully disassembling your guitar.
Just be sure to cover all parts you don’t want painted, like the fretboard and hardware.
Use painter’s tape to keep edges clean.
How do I paint an acoustic guitar without messing it up?
To paint an acoustic guitar, start by cleaning the surface.
Lightly sand it, then apply thin and even coats of paint.
Focus on drying time between layers to avoid drips and runs.
Once the final coat has dried, consider applying a clear lacquer to protect the paint and enhance the finish.
It’s essential to allow the lacquer to cure fully before handling the guitar, as this will ensure a durable and professional look.
If you’re eager to learn how to paint a guitar, remember that patience and attention to detail are key to achieving stunning results.
Are acrylic paints a good choice for customizing my guitar?
Acrylic paints are a great choice for customizing your guitar.
They’re easy to work with and come in many colors.
Just remember to seal your design with a clear coat to protect it.
What’s the scoop on using polyurethane to finish a painted guitar?
Polyurethane provides a durable finish that protects your painted design.
It adds a shiny look and resists scratches.
Just apply it carefully and let it cure as directed for the best results.