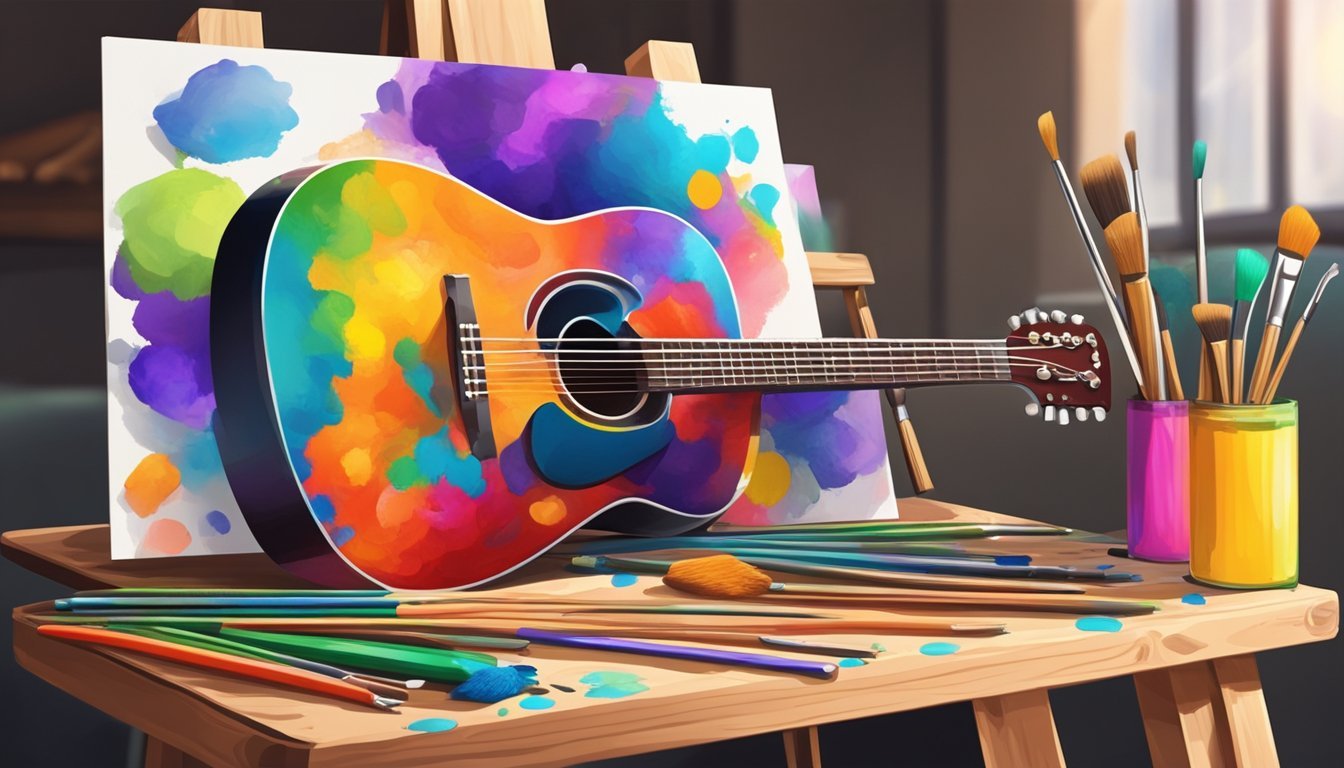
Painting your guitar is a fun and creative way to express your personal style.
You can transform your instrument into a unique piece of art by following a few simple steps.
Whether you’re looking to refresh an old finish or create something entirely new, it’s easier than you might think.

Before diving into the painting process, you need to prepare your guitar properly.
This includes removing the strings and any other parts that could get in the way.
Once your guitar is ready, understanding the basics of paint application will help you achieve a smooth and professional look.
After applying your chosen colors, adding finishing touches will make all the difference in protecting your work and enhancing its beauty.
As you go through the steps, you’ll find that painting a guitar can be both rewarding and enjoyable.
Key Takeaways
- Proper preparation is key to a successful paint job.
- Understanding painting basics ensures a smooth finish.
- Adding protective layers enhances the guitar’s look and lifespan.
Preparing Your Guitar
Painting your guitar is a fun and creative way to express your personal style.
You can transform your instrument into a unique piece of art by following a few simple steps.
Whether you’re looking to refresh an old finish or create something entirely new, it’s easier than you might think.

Before diving into the painting process, you need to prepare your guitar properly.
This includes removing the strings and any other parts that could get in the way.
Once your guitar is ready, understanding the basics of paint application will help you achieve a smooth and professional look.
After applying your chosen colors, finishing touches will make all the difference in protecting your work and enhancing its beauty.
As you go through the steps, you’ll find that painting a guitar can be both rewarding and enjoyable.
Disassembling the Guitar
Start by taking off the strings.
You can clip them with wire clippers or use string cutters.
After that, remove the hardware like the bridge, pickups, and knobs.
Use a screwdriver to carefully take off these parts.
Next, you’ll want to detach the guitar neck from the body.
Most guitars have screws on the back of the neck plate.
Make sure to keep all the screws organized so you can find them easily later.
Cleaning and Sanding
Once disassembled, it’s time to clean the guitar body and neck.
Use mineral spirits on a clean cloth to remove grease or dirt.
This helps the paint adhere better.
After cleaning, you’ll need to sand the surfaces.
Start with coarse grit sandpaper to remove the old finish, then switch to medium grit for a smoother feel.
You can use a sanding block for flat areas or an orbital sander for quicker results.
For a really smooth job, consider using the wet sanding technique.
This involves lightly wetting the sandpaper, which can minimize dust and help keep things tidy.
Applying Wood Filler and Primer
If there are any dents or scratches, apply wood filler to those areas.
Use a putty knife to spread the filler evenly and let it dry completely.
After drying, sand it down until it’s flush with the guitar surface.
Next, it’s time to apply primer.
A good primer helps the paint stick and provides a smooth base.
Use a spray can or a brush for application.
Make sure to apply thin, even coats and let each coat dry completely before adding more.
This will ensure you have a solid foundation for your new paint job.
Painting Basics
Painting your guitar can be a fun and creative process.
Selecting the right paint and methods will help you achieve a smooth, professional finish.
Here’s what you need to know to get started.
Selecting the Paint
When picking out paint, acrylic paint is a popular choice.
It dries quickly and is easy to work with.
You can find various colors that match your style.
Make sure to choose paint specifically designed for wood surfaces.
This ensures good adhesion and helps to maintain the beauty of the wood grain.
Don’t forget to pick up a clear coat as well.
A clear coat will protect your paint job and give it a nice shine.
Using a Spray Gun
Using a spray gun can make your painting process faster and more even.
First, set up a place to work, covering the area with a drop cloth.
This will protect your surroundings from paint overspray.
Fill the spray gun with your paint, aiming for thin and even coats.
Hold the gun about 6-12 inches away from the guitar body to avoid drips.
Practice on a scrap piece of wood to get the feel of the spray.
This will help you develop a steady hand for your guitar finish.
Applying the Base Coat
Before applying your base coat, make sure that your guitar is clean and free of dust.
This step is crucial for a smooth finish.
Start with a light coat of paint.
Allow it to dry completely before adding another layer.
Generally, 2-3 coats should be enough to get full coverage.
Make sure to sand lightly between coats to smooth out any imperfections.
This keeps the final look professional.
Take your time and enjoy the process.
With patience and practice, you’ll have a beautiful guitar that reflects your personal style.
As you work on your guitar, you might find yourself inspired to learn new techniques and styles.
Exploring resources on how to play blues guitar can be a great way to make the most of your instrument and develop your musical skills.
Over time, your dedication will pay off, and you’ll be able to create soulful melodies that truly make your guitar your own.
Adding the Finishing Touches
Once your guitar has been painted and dried, it’s time to add the finishing touches.
This process involves sanding, applying a clear coat, and polishing the guitar before reassembling it.
Paying attention to these details will elevate your custom paint job and enhance the appearance of your instrument.
Sanding Between Coats
Sanding is an important step in achieving a smooth finish.
Use fine grit sandpaper, around 600 to 800 grit, to lightly sand the guitar after each coat of paint has dried.
This helps eliminate any imperfections or bumps that may have formed during the painting process.
Be gentle while sanding; you don’t want to remove too much of the paint layer.
A light touch will suffice.
Make sure to wipe away any dust with a tack cloth before applying the next coat.
This ensures that your new layer adheres properly and looks flawless.
Applying the Clear Coat
After the final layer of paint has dried, it’s time to protect your hard work with a clear coat.
Choose a clear coat designed for guitars or automotive use for the best results.
This layer adds shine and creates a barrier against scratches and chips.
Hold the spray can about 6-12 inches from the guitar and apply thin, even coats.
It’s better to do several light coats than one heavy coat.
Allow each layer to dry for about 15-30 minutes before applying the next one.
This builds a durable finish without running or dripping.
Polishing and Reassembling
Once the clear coat has fully cured, it’s time to polish the guitar.
Use a quality guitar polish to give your instrument a nice shine.
Apply the polish with a clean cloth, making circular motions for an even finish.
This step not only enhances appearance but can also help to protect the paint.
After polishing, carefully reassemble the guitar.
Replace the hardware, such as the guitar bridge studs and strings.
Take your time to avoid scratching the new paint job.
With these finishing touches, your guitar will be ready to play and show off!
Frequently Asked Questions
When painting your guitar, you might have some questions about techniques, materials, and ideas.
Here’s a look at some common inquiries to help you.
What’s the best way to apply acrylic paint on a guitar?
To apply acrylic paint on a guitar, start with thin, even coats.
Use a spray gun or a brush, depending on your comfort level.
Make sure to let each coat dry completely before adding the next one for a smooth finish.
Any tips for painting an acoustic guitar?
For painting an acoustic guitar, remove the strings and bridge to avoid damage.
Use a primer to help the paint stick and prevent issues.
Be gentle while painting, as acoustic guitars are sensitive, and too much paint can affect the sound quality.
Is it possible to paint a guitar without going through the hassle of sanding it?
While sanding helps the paint adhere better, you can skip it if you’re careful.
Use a good primer designed for non-sanded surfaces.
Just make sure the guitar body is clean and free of dust or grease.
I’m looking for some cool guitar painting ideas. Got any?
You can try things like a gradient effect, splatter paint, or even stenciling images or patterns.
Think about your favorite colors or themes.
Custom designs or personal artwork can make your guitar truly unique.
What kind of paint sticks to a guitar body the best?
Acrylic paint is popular for guitars because it dries quickly and is easy to work with.
Some also use enamel paint for a high-shine finish.
Just ensure it’s specifically made for wood surfaces to avoid peeling.
Can I paint my guitar at home without disassembling it?
Yes, you can paint your guitar at home without a full disassembly.
However, it’s a bit trickier.
Remove the strings and cover any parts you don’t want to paint.
Use painter’s tape for precision and protection.
Just be careful to not get paint on the parts like the pickups or fretboard.