
Building your own guitar pedal can be an exciting project that unleashes your creativity.
Understanding the basics of pedal circuits, selecting the right components, and assembling them carefully can help you create a unique sound.
From beginner kits to more advanced builds, there’s something for everyone.
Getting started is straightforward with the right tools and a little guidance.
After you gather your essentials, you can dive into the design phase, where you’ll map out your pedal’s circuit.
Once you’ve built it, testing and troubleshooting will help ensure everything works perfectly, giving you a custom pedal that suits your playing style.
With a little patience and practice, making your own guitar pedal can be a rewarding experience that enhances your music.
Plus, it gives you the freedom to experiment and tweak your sound just the way you like it.
Key Takeaways
- You need specific components and tools to start building your pedal.
- Designing the circuit is crucial to achieving your desired sound.
- Testing ensures your pedal functions correctly before you use it.
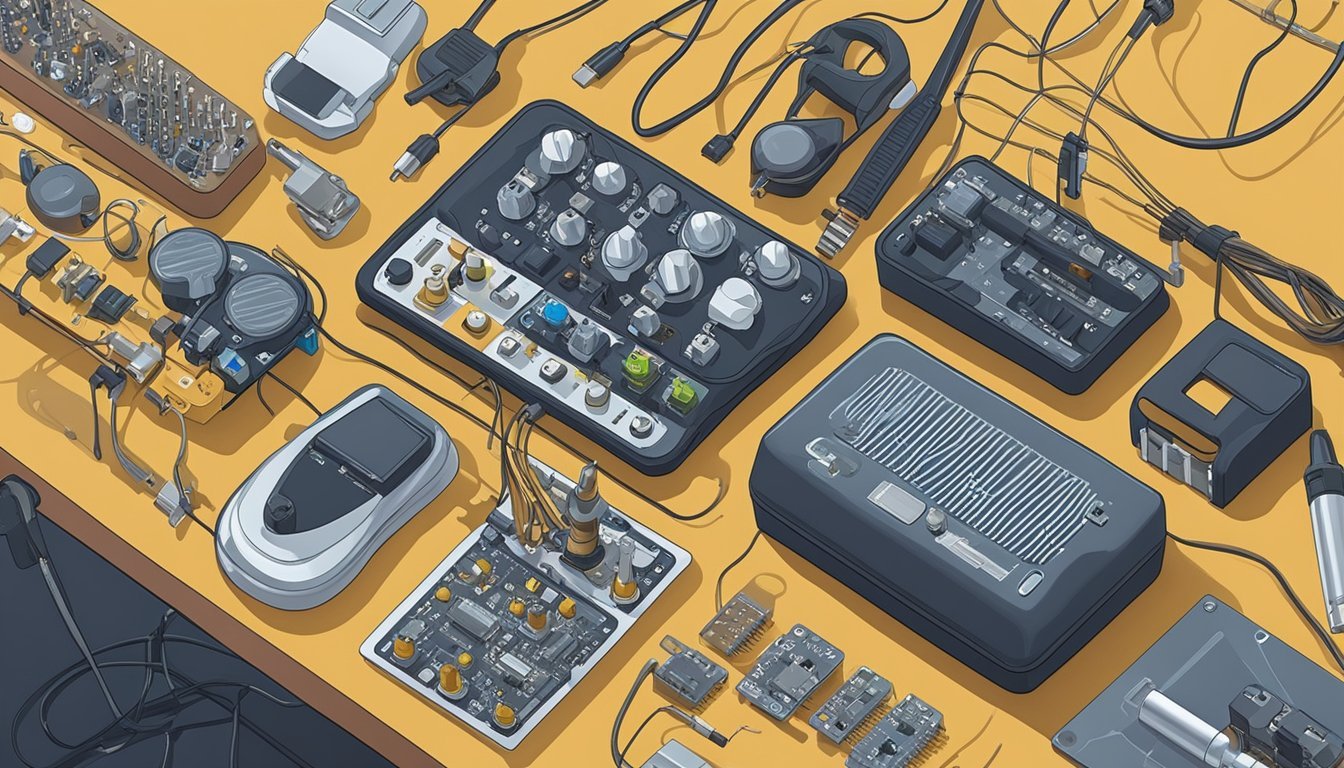
Gathering the Essentials
When building your own guitar pedal, getting the right tools and materials is key.
You’ll want to assemble quality components and understand basic electronics to ensure a smooth process.
Preparation helps you work safely and effectively.
Choosing Your Components
To start, you must select the right components for your pedal.
Common parts include:
- Resistor: Controls the flow of electricity.
- Capacitor: Stores electrical energy and affects sound.
- Transistor: Provides gain and can amplify your signal.
- Diode: Ensures current flows in one direction, protecting your circuit.
Each component affects your pedal’s sound.
You can buy these at electronic supply stores or online.
Consider a DIY kit, which often includes a PCB (printed circuit board) to simplify the building process.
Don’t forget to check for a pedal enclosure to house your pedal once finished.
Understanding Basic Electronics
With your components in hand, it’s time to grasp some basic electronics.
Knowing how to read schematics is essential.
A schematic shows how the parts connect and interact.
Use a multimeter to test components and check connections while you work.
Familiarize yourself with voltage, current, and resistance.
If you’re unsure about anything, plenty of resources are available online.
Simple mistakes can lead to problems, so better safe than sorry.
Preparation and Safety
Proper preparation can make all the difference.
Before you start, gather your tools:
- Soldering iron: Needed for connecting components.
- Solder: Metal alloy that completes your electrical connections.
- Wire cutters and strippers: Useful for cutting and preparing wires.
Always work in a well-ventilated area and wear eye protection.
Your safety comes first! Also, double-check that any power sources, like a 9V battery, are disconnected before you begin soldering.
This minimizes the risk of shock and damage to components.
Designing the Circuit
When designing your guitar pedal circuit, there are a few key areas to focus on.
These include drawing a clear schematic, selecting an appropriate enclosure, and customizing your tone to suit your style.
Each part plays a significant role in how your pedal will function and sound.
Drawing the Schematic
Creating a schematic is like drawing a roadmap for your pedal.
It’s important to layout your components clearly.
Start with the basic circuit design that fits your desired effect.
For example, if you’re building a Fuzz Face or a Klon Centaur clone, you’ll need specific parts like transistors and op-amps.
Using software or pen and paper, sketch out the signal flow.
Label each component, including resistors, capacitors, and jacks.
This visual guide helps prevent mistakes during assembly.
If you’re using stripboard, remember to plan carefully so you can avoid cutting traces and creating shorts.
Selecting the Right Enclosure
Choosing the right enclosure is crucial for your project.
Most DIY pedals fit into a 1590A enclosure, known for its compact size.
It protects your circuit and makes it easy to mount components.
Also, consider the layout of your jacks and switches, ensuring they increase usability.
Remember to check guitar pedal enclosure sizes if you’re custom building.
A well-sized enclosure helps manage heat and gives space for your circuit.
It’s also an opportunity for creativity—think about your pedal’s aesthetics.
A unique finish can make your pedal as much a piece of art as a piece of gear.
Customizing Your Tone
Customizing your tone is where the magic happens.
Tweaking component values like resistors and capacitors can make a big difference in how your pedal sounds.
For instance, changing the values in your fuzz circuit can alter the thickness and sustain of your sound.
Experimenting with different parts can yield unique tones.
Try swapping out capacitors for different materials or using trimpots to adjust resistance.
This process can help you dial in the specific sound you’re after, whether it’s a crisp clean boost or a warm, saturated overdrive.
Embrace trial and error; it’s part of the fun!
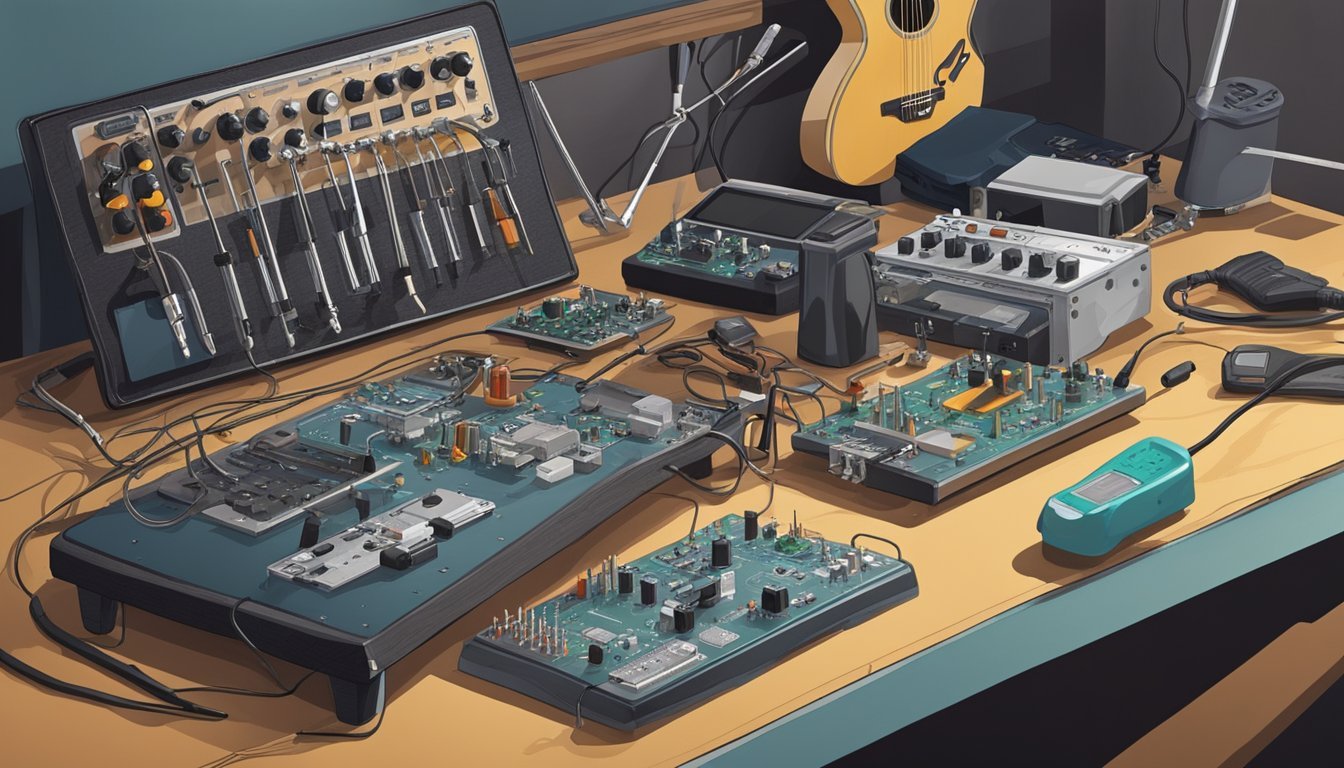
Building the Pedal
Building a guitar pedal requires careful steps to ensure everything works smoothly.
You’ll need to focus on soldering the components, putting the enclosure together, and wiring the circuit properly.
Let’s break down each part.
Soldering Components Together
First things first, grab your soldering iron and solder wire.
For DIY guitar pedals, lead-based solder is often preferred because it melts easily and creates strong connections.
Heat your soldering iron to around 350°C (662°F) for the best results.
Start by placing the components onto the pedal’s PCB.
Secure them using the holes provided.
Make sure to insert the potentiometer, which controls volume or tone, correctly.
Once everything is in place, touch the soldering iron to the joint before adding solder.
Keep the iron there for a second, then pull it away.
Add a bit of solder and let it cool.
Check your joints; they should be shiny and smooth.
If they’re dull, reheat and apply more solder.
Assembling the Enclosure
Now that you’ve soldered the components, it’s time to assemble the enclosure.
You’ll need a standard-sized model like the 1590B or a mini version like the 1590A.
These sizes fit most pedal builds.
Begin by placing the PCB into the enclosure.
Ensure it’s secure and won’t wobble.
Next, position the knobs and switches on the top panel.
Make sure they line up with the holes you drilled earlier.
Once everything is positioned correctly, screw the enclosure closed.
Make sure all parts fit snugly, as loose connections can cause issues later.
Wiring the Circuit
The final step is wiring the circuit.
You’ll connect what you’ve assembled to ensure it functions correctly.
Start by attaching wires from the PCB to the input and output jacks.
Use shorter wires to reduce interference and maintain signal quality.
Attach the negative and positive leads to the power supply correctly.
Check that your connections are secure and not touching each other, as this can cause a short circuit.
After you wire it up, do a final check of all your connections.
Once you’re satisfied everything looks good, plug it in and give it a test!
Testing and Troubleshooting
Once you’ve built your guitar pedal, it’s time to test everything.
This step helps you catch any issues before you finalize your setup.
Knowing what to check and how to fix common problems can save you time and frustration.
Initial Testing
Start your testing by ensuring everything is connected correctly.
Connect a 9V power supply, usually a battery or adapter, to your pedal.
Then, plug your guitar into the pedal’s input and connect the output to your amp.
Now, play a few chords or notes.
If you hear the effect, that’s a good sign! If not, double-check your soldering and connections.
Make sure all components are properly seated in the circuit.
Also, check the bypass switch.
When the pedal is off, you should hear your guitar’s clean sound.
This helps confirm that your pedal is functioning as intended.
Debugging Common Issues
If you run into problems, check the most common issues first.
Here are a few tips:
- No Sound: Ensure the battery is fresh or the power supply is working. Check the input and output jacks for proper connections.
- Weird Noises: If you hear hum or interference, it may be due to poor shielding. A metal case can help reduce unwanted noise.
- Weak Signal: This could indicate a bad solder joint or faulty component. Inspect your soldering work closely.
Using a multimeter can help diagnose electrical issues in the pedal circuitry.
Tools like this are vital in DIY stompboxes.
If issues persist, returning to guitar pedal tutorials can help clarify complex areas.
Frequently Asked Questions
Building your own guitar pedal can be a fun and rewarding experience.
You might have some questions about the tools, components, and processes involved.
Let’s get into some common queries to help you get started.
One of the first things to consider is the type of pedal you want to create, as this will determine the components and tools you’ll need.
Additionally, many musicians find that building their own pedals enhances their understanding of sound and effects, which can even influence their approach to playing, such as how to play fingerstyle guitar.
As you dive into the project, remember to consult various resources for schematics and tutorials to guide you along the way.
What do I need to start building my own guitar pedal?
To kick things off, you need a few basic items.
A soldering iron and solder are essential for connections.
Wire cutters will help with precise cuts.
A multimeter is handy for checking your work and ensuring everything is functioning properly.
Can you guide me through making a fuzz pedal from scratch?
Sure! Making a fuzz pedal involves assembling components like transistors and resistors.
You’ll create a circuit that produces that classic, gritty sound.
There are many online resources and schematics that can show you the exact layout and connections needed for a fuzz pedal.
What tools and components are necessary for DIY guitar pedal construction?
You’ll need some specific tools and components.
Besides the soldering iron and wire cutters mentioned earlier, a drill, wire, and various electronic parts like capacitors and potentiometers are important.
Getting a basic kit that includes these components can also start you off easily.
Is there a beginner-friendly guide to designing and assembling a guitar pedal?
Yes, there are many beginner-friendly guides available online.
These guides usually provide step-by-step instructions and diagrams.
They help simplify the process and make it less overwhelming for new builders.
Checking out these resources can make a big difference in your experience.
How can I get my hands on some guitar pedal schematics for reference?
You can find guitar pedal schematics on various DIY guitar pedal websites and forums.
Many enthusiasts share their designs freely for others to use.
Additionally, books about pedal building often include useful schematics that can guide you throughout the process.
Where do I begin if I want to create a stereo guitar pedal?
Starting a stereo guitar pedal project involves understanding dual input and output.
You’ll need to adapt your circuit to handle two signals.
Many online tutorials can walk you through the specifics of stereo wiring and component choices for this kind of pedal.