
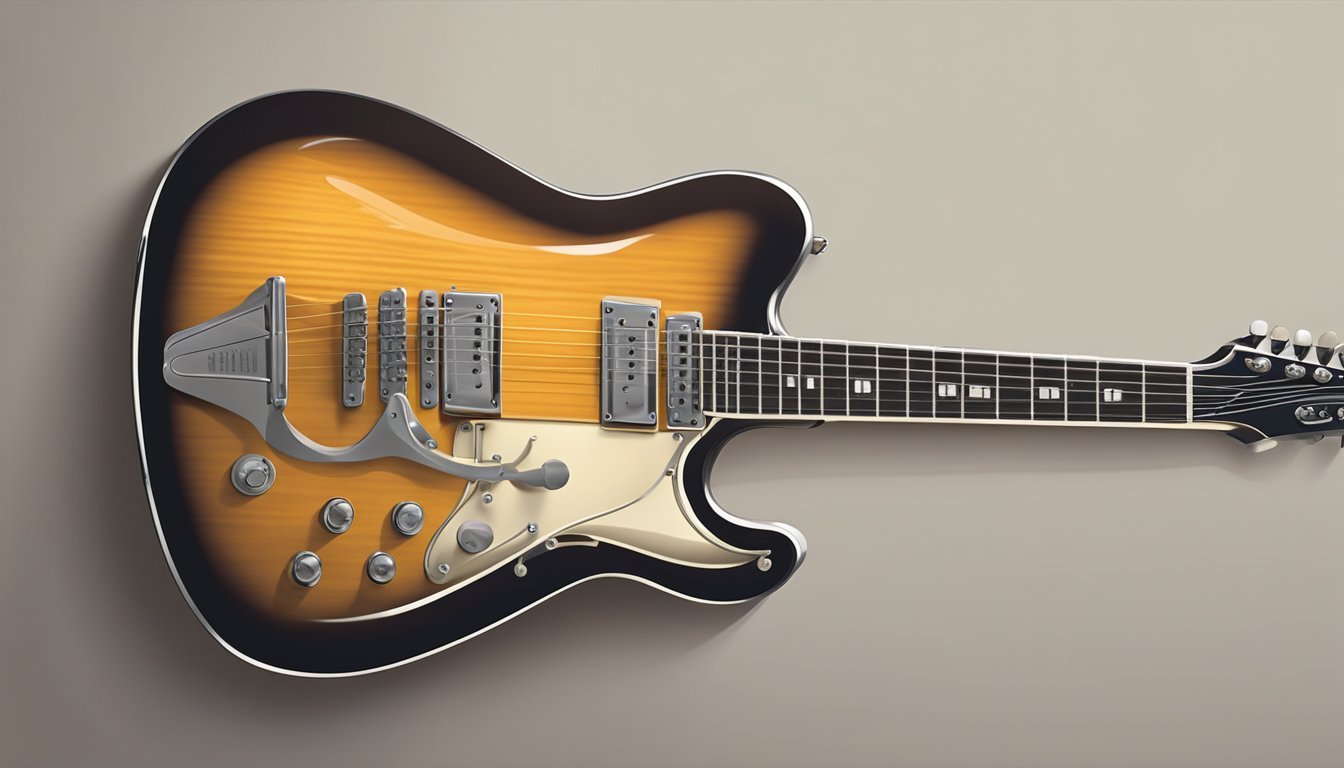
Hanging your guitar on the wall can be a great way to showcase your instrument while keeping it safe and easily accessible. To ensure your guitar stays in top shape and doesn’t get damaged, you need to choose the right guitar hanger.
With a few simple steps, you can transform your space into a mini gallery of musical creativity.
Before you start, it’s important to prepare for the installation.
Make sure you find a good spot on the wall and check for any studs that will keep your guitar secure.
A well-mounted guitar hanger not only looks good, but it also protects your instrument from falls or accidents.
Taking care of your guitar after hanging it is just as important as the mounting process.
Regularly check that the hanger remains secure and the guitar stays in tune.
This way, your instrument will not only be a decorative piece but also a reliable companion for your music-making adventures.
Key Takeaways
- Use the right guitar hanger that fits your instrument properly.
- Make sure to securely mount the hanger to avoid accidents.
- Regularly check and maintain your guitar’s condition while it’s displayed.
Choosing the Right Guitar Hanger
When it comes to hanging your guitar, selecting the right hanger is essential.
You want something that not only looks good but also keeps your instrument safe.
Here’s what to consider regarding types, materials, and security features.
Types of Guitar Hangers
There are several types of guitar hangers to choose from.
The most common are wall-mounted guitar hangers and floor stands. Wall-mounted hangers save space and keep your guitar on display.
They usually have a hook design, often featuring an auto grip system that automatically locks the guitar in place.
String Swing hangers are popular for their durability and sleek design, making them a great option for any room.
Also, consider adjustable hangers for multiple guitars.
This ensures each one is secure without taking extra space.
Wall Hanger Materials
When picking a wall hanger, the materials matter.
Most hangers are made of plastic, wood, or metal. Plastic hangers are lightweight and affordable, but may not be as sturdy as others. Wooden hangers are stylish and look great in any room, but they can be bulky.
Metal hangers are very durable and often have padded supports to protect your guitar’s finish.
Make sure any hanger you choose features foam or rubber padding, which helps prevent scratches and keeps your guitar secure while displayed.
Security Features
Security is key when hanging your guitar.
Look for features like strong mounting brackets that can hold the weight of your guitar safely.
Hangers with an auto grip system provide extra security.
They automatically hold your guitar in place without much effort on your part.
Also, check if the hanger is rated for your specific guitar type.
Some hangers are designed for acoustic guitars, while others are better for electric models.
This consideration can ensure that your guitar stays safe and sound while hung on your wall.
Preparing for Installation
Before you start hanging your guitar, it’s important to know your wall type and gather the right tools.
Different walls require different approaches for a secure installation.
Identifying Wall Type
First, determine what kind of wall you have.
Common types include drywall, plasterboard, and solid masonry walls.
-
Drywall: This is often found in homes. It’s easy to install hangers if you locate a stud behind it. Use a wall scanner to find studs, which provide better support.
-
Masonry Wall: If your wall is made of brick or concrete, you’ll need a hammer drill to create holes for anchors.
-
Hollow Wall: These may require special drywall anchors since they lack solid support.
Identifying your wall type helps you choose the right anchors and tools for a safe hanging.
Gathering Your Tools
Having the right tools is key for successful installation.
Here’s what you should gather:
-
Wall Scanner: Use this to find wall studs if you have drywall. Knowing where the studs are will strengthen your installation.
-
Hammer Drill: If your wall is masonry, this is essential to make pilot holes in the hard surface.
-
Power Tools: A screwdriver or drill will be handy for attaching the hanger securely.
-
Level: Ensuring your guitar hanger is straight helps both in aesthetics and support.
By gathering these tools, you set yourself up for an efficient and safe guitar hanging process.
Mounting the Guitar Hanger
Mounting a guitar hanger properly is key to keeping your instrument safe and secure.
The focus will be on locating the wall studs, drilling and anchoring the mounting block, securing the hanger, and making final adjustments.
Let’s dive in!
Locating the Stud
First, you need to locate the wall studs.
These wooden beams provide support for your guitar hanger.
To find them, you can use a stud finder or tap on the wall.
When you knock, listen for the difference in sound.
Hollow areas sound dull, and the studs produce a sharper sound.
Mark the stud’s position lightly with a pencil.
If you can’t find a stud where you want to hang your guitar, you can use hollow wall anchors as an alternative.
Drilling and Anchoring
Once you’ve found the stud, it’s time to drill.
Use a drill bit that matches the size of your mounting screws.
If you’re using a mounting block, make sure it aligns with the stud.
For drywall, hollow wall anchors can be helpful.
These anchors help support the weight of the guitar when you drill into the drywall.
Insert the anchors into the holes you drill.
They will expand and provide extra stability.
Make sure to drill straight and not too deep.
You don’t want to damage anything inside the wall.
Securing the Hanger
Now that your anchors or screws are in place, it’s time to secure the hanger.
Hold the guitar hanger against the wall and align it with the anchors or screws you’ve installed.
Use a screwdriver to tighten the screws into the anchors or the stud.
If your hanger has multiple screws, secure each one carefully.
This ensures that your guitar will be well-supported.
Double-check that the hanger is level as you tighten.
A straight hanger looks better and helps prevent your guitar from tipping.
Final Adjustments
After securing the hanger, it’s important to make any final adjustments.
Step back and check that the hanger is level.
If it’s slightly off, you can adjust the screws a bit.
Once everything looks good, give the hanger a gentle tug to ensure it’s firm.
This is a good time to check the clearance between the hanger and your guitar.
You want enough space to avoid any accidental damage.
With everything in place, your guitar is ready to hang! Enjoy your DIY project and show off your instrument in style.
Now that your guitar is securely mounted, you might also be interested in exploring how to connect guitar to computer for recording or digital effects.
With the right cables and software, you can easily enhance your music experience and experiment with different sounds.
Aftercare and Maintenance
Hanging your guitar on the wall is just the first step.
Aftercare is essential to keep it in great shape.
Regular Dusting
Every few weeks, check for dust on your guitar.
Use a soft, dry cloth to wipe it down.
This helps maintain its finish and look.
Humidity Control
Keep your guitar away from extreme temperatures and humidity.
A stable environment is key.
Try to keep the humidity level between 40-50%.
This helps prevent wood from warping.
Check the Hanger
Inspect the wall hanger regularly.
Make sure it’s secure and not wobbling.
If you notice any looseness, tighten it right away to protect your guitar.
Inspect the Strings
Look at your strings for signs of wear.
If they’re rusty or dirty, change them.
Fresh strings improve sound quality and playability.
Use a Guitar Stand
When not using your guitar, consider a guitar stand for easy access.
This can reduce wear from hanging, especially if you take it down often.
Cleaning
Every once in a while, give your guitar a deeper clean.
Use specific guitar cleaning products to maintain the wood and finish.
Avoid household cleaners as they can damage the surface.
Routine maintenance can extend the life of your guitar.
Treat it well, and it will keep playing beautifully for years!
Frequently Asked Questions
Hanging a guitar on the wall can bring both style and convenience.
Here are some common questions many people have about the best ways to do it.
What’s the best way to hang a guitar on the wall without using drills?
If you want to avoid drills, consider using adhesive guitar hangers.
These hangers stick to the wall and hold the guitar securely.
Make sure to follow the manufacturer’s instructions for weight limits and surface types.
Can I just nail my guitar to the wall, or is there a better method?
Nailing your guitar to the wall is not recommended.
This method can damage the guitar and may not provide the support it needs.
Using a proper guitar hanger or a wall mount designed for instruments is a much safer option.
Are there any creative ideas for hanging guitars on the wall?
You can get creative by using decorative wooden or metal racks.
Some people use shelving for guitars, allowing room for additional items like picks or sheet music.
Floating shelves can also be a fun option that adds style to your space.
Should I worry about damage when hanging my guitar on the wall?
Yes, you should consider potential damage.
Hanging your guitar in a location with direct sunlight or humidity can affect its condition.
Always ensure the space is dry and not exposed to harsh conditions.
What’s the ideal height for hanging a guitar?
The ideal height for hanging a guitar is around eye level.
This makes it easy to grab and play when you want to.
Aim for a height of about 5 to 6 feet from the floor, depending on your own height.
Does hanging a guitar on the wall affect its condition over time?
Hanging a guitar can affect its condition if not done properly.
Make sure to monitor things like humidity and temperature to protect your guitar.
Using a hanger that supports the neck properly will help maintain its shape.