
Drawing a guitar can be a fun and creative process.
This guide will show you how to draw a guitar step by step, from simple shapes to more detailed designs.
Whether you want to sketch an acoustic, electric, or cartoon-style guitar, you’ll find tips that make it easy for anyone to follow along.
Getting started is simple.
All you need are a few basic shapes to form the body and neck of the guitar.
Once you have those down, you can start adding details like the strings, frets, and any unique designs you want.
By the end, you’ll see how shading and coloring can bring your guitar drawing to life, making it look more vibrant and realistic.
Let’s dive in and turn those ideas into a great guitar sketch you can show off to your friends or use in your art projects.
The process is enjoyable, and you’ll be amazed at what you can create with just a little guidance.
Key Takeaways
- Start by mastering basic shapes for the guitar’s body and neck.
- Add intricate details to make your guitar drawing stand out.
- Use shading and color to enhance your final artwork.
Getting Started with Basic Shapes
When you’re ready to draw a guitar, starting with basic shapes is key.
You will use simple forms like circles and rectangles to create the guitar outline.
This helps you get the proportions right before adding details.
Drawing the Guitar Body Outline
Begin by sketching the guitar body.
Start with a large oval or an egg shape for the main part.
This will form the guitar’s body.
If you prefer, you can also use two circles, one slightly larger than the other, and connect them using curved lines.
Make sure the curves are smooth.
This creates a more realistic shape.
Once you have your outline, add a rectangle at the bottom.
This can represent the area where the guitar’s curve meets the neck.
Take your time to adjust the proportions until you’re happy with the look.
Sketching the Neck and Headstock
Next, focus on the neck and headstock.
Draw a long rectangle extending from the top of the guitar body.
This will be your neck.
Make it narrow but not too thin.
The neck should feel balanced with the body.
At the top of the neck, draw a smaller rectangle or square for the headstock.
This is where the tuning pegs will go later.
Position it slightly wider than the neck.
Make sure everything flows nicely.
Adding these shapes sets a solid foundation for the details to come.
Keep your lines light, so you can easily adjust as needed.
Adding Guitar Details
Filling in the details of your guitar drawing brings it to life.
You want to capture the unique features that define the style of guitar you’re creating, whether it’s an acoustic or electric.
Pencil Work for Frets and Sound Hole
Start by lightly sketching the frets on the neck of your guitar.
Use a ruler for straight lines to keep them even.
Place them in a way that matches where the fingers would typically press down on the strings.
Next, focus on the sound hole for acoustic guitars.
Draw a perfect circle in the body, usually near the center.
Don’t forget to add some shading around the edge for depth.
Use soft pencil strokes to create these details so they can be adjusted later if needed.
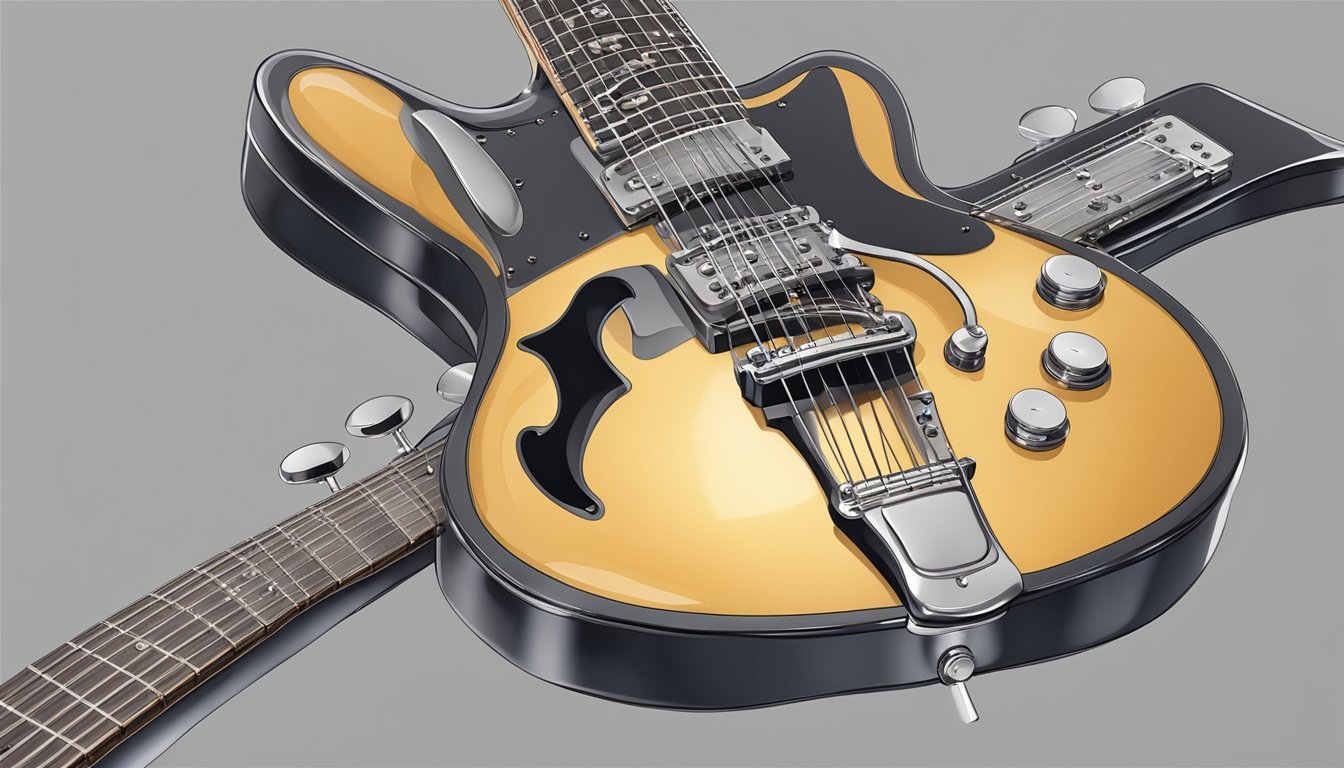
Also, if you’re drawing an electric guitar, think about adding the pickup areas.
These are generally close to the strings but vary by guitar model.
Keep the proportions similar to ensure a realistic look.
Perfecting the Tuning Pegs
Tuning pegs are essential for both acoustic and electric guitars.
Begin by sketching the small rectangles or ovals at the head of the guitar.
Usually, there are six pegs, evenly spaced.
Make sure to depict their shape accurately.
They can have different styles, so look at reference images if needed.
Once the basic shapes are down, add details like the knobs for tuning, which may be circular or slightly elongated.
Use light pencil lines to portray their metallic texture.
Highlight where light would catch on the surface to give them a three-dimensional feel.
These simple but crucial details will add character to your guitar drawing!
Refining and Shading Techniques
When you draw a guitar, refining shapes and adding shading can bring your artwork to life.
These steps help create a more realistic look and highlight important details.
Here’s how to tackle these tasks effectively.
Shading the Guitar Body
Start by identifying the light source in your drawing.
This helps you decide where to place shadows.
Use a softer pencil, like 2B or 4B, for shading.
Begin with light strokes and gradually build up darker areas.
Focus on curved surfaces, like the guitar body.
Use short, circular motions to create smooth transitions between light and shadow.
Remember to leave some areas lighter to show reflections.
Layering is key.
Don’t rush; take your time to develop depth.
You can also use blending tools, like a blending stump or your fingers, to soften harsh lines.
This creates a more natural look.
Highlighting Details
Once you have your shading, it’s time to accentuate details.
Use a sharper pencil, like a 2H, for fine lines.
Focus on parts like the strings, fretboard, and tuning pegs.
For the strings, make sure they stand out against the body.
Lightly draw them with thin lines and add a bit of shading underneath to suggest depth.
Don’t forget about highlights.
You can use an eraser to lift some graphite, creating shiny spots where light hits.
This technique adds realism and makes the guitar pop in your drawing.
Coloring and Finishing Touches
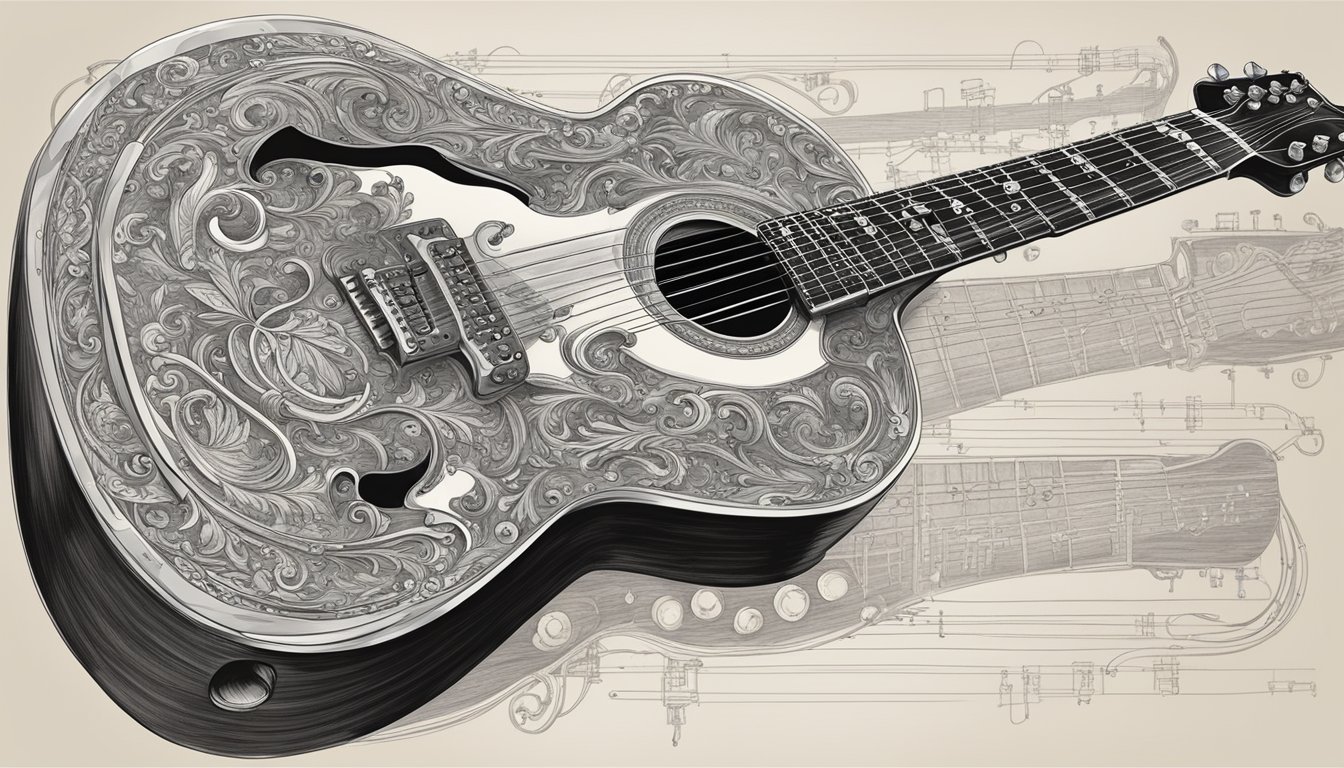
Now that you have your guitar drawing ready, it’s time to make it pop with color and some finishing touches.
This part is where your creativity shines.
You can choose colors that match your style or go for something totally unique.
Experiment with different shading techniques to add depth and dimension to your guitar illustration, giving it a lifelike quality.
If you’re feeling adventurous, consider incorporating patterns or textures that represent your personality.
As you enhance your artwork, remember that this is just a step in your journey of learning how to craft guitars as a luthier, where your artistic skills can easily translate into the craftsmanship of real instruments.
Choosing Colors
Think about the look you want for your guitar.
You might want bright colors for a fun design or more muted tones for a classic vibe.
If you’re drawing an electric guitar, consider using bold colors for the body and more subtle shades for the neck.
Here are some ideas:
- Body: Red, blue, or green can create a striking look.
- Neck: Brown or black tends to look realistic.
- Pick guard: Experiment with patterns or colors that stand out.
Don’t be afraid to mix colors.
Your drawing can have a personal touch that reflects your style.
Applying Watercolors and Colored Pencils
When it comes time to color, start with watercolors if you like a soft, blended look.
They are great for adding depth.
Use a brush to apply watercolors smoothly.
Remember to let each layer dry before adding more.
If you choose colored pencils, they can give your drawing a rich texture.
Start with lighter shades for base colors and add darker shades for shadows.
Focus on areas like the pick guard and strings to make them stand out.
Use small strokes for details and larger strokes for the main body.
Enjoy experimenting with both methods! You can even combine them for a cool effect.
Your guitar drawing will look amazing with the right colors and finishing touches.
Frequently Asked Questions
Drawing a guitar can feel tricky at first, but it doesn’t have to be complicated.
Here are answers to some common questions that can help you get started and improve your guitar drawings.
What’s the easiest way to sketch out a guitar?
Start by drawing simple shapes.
Use a horizontal egg shape for the body.
Then, add a long rectangle for the neck and a circle for the sound hole.
This basic outline makes it easy to build on as you go.
Can you guide me through drawing a guitar step by step?
Sure! Begin with the body shape and neck.
Then, add details like the fretboard and strings.
Use light pencil strokes to correct mistakes easily.
Once you’re happy with the outline, you can go over it with ink or a darker pencil.
Any tips on doodling an electric guitar for beginners?
When doodling an electric guitar, keep the shapes simple.
Start with a wider body, then add a rectangle for the neck.
You can play with different styles, like making the body pointy or curvy.
Don’t worry about making it perfect.
How can I make drawing a guitar simple for kids?
Use easy shapes and break it down into steps.
You can teach kids to start with an oval for the body and a line for the neck.
Encourage them to use fun colors and add their own decorations like stickers or sparkles.
What’s the best way to draw a guitar using colored pencils?
Choose a variety of colors for different parts.
Use light shades for highlights and darker shades for shadows.
Layer your colors gently to create depth.
Blending is key, so take your time to smooth out the colors.
Any suggestions for adding colors to my guitar drawing?
Think about the guitar’s style when adding colors.
For classic guitars, use warm browns and yellows.
For electric guitars, bright colors can work well.
Don’t forget to add details like a shiny finish to make it pop!