Changing the strings on your electric guitar is a crucial skill every guitarist should master.
It enhances the sound of your music and extends the life of your instrument.
Whether you’re a beginner or an experienced player, knowing how to do this can keep your guitar in top shape and improve your playing experience.

The process may seem intimidating at first, but it’s actually quite simple once you get the hang of it.
You’ll start by removing the old, worn-out strings and then carefully installing new ones.
After that, proper tuning will set you on your way to making great music again.
So, if you’re ready to give your guitar the care it deserves, let’s dive into the details of changing your electric guitar strings step by step.
Key Takeaways
- Regularly change your guitar strings to maintain sound quality.
- Follow a systematic process for easy string changes.
- Proper tuning and maintenance keep your guitar performing well.
Preparing to Change Your Strings
Before you start changing your electric guitar strings, it’s important to get everything ready.
This means gathering the right tools and understanding the types of strings that will work best for your guitar.
Make sure you have a fresh set of strings suited to your playing style, as well as essential tools like wire cutters and a tuner.
Familiarizing yourself with how to change electric guitar strings will not only enhance your instrument’s performance but also prolong its lifespan.
Once you’re prepared, you’ll find that the process is straightforward and can be done with just a bit of practice.
Gathering the Right Tools
To change your strings smoothly, you’ll need a few essential tools.
Make sure to have:
-
String Winder: This handy tool speeds up the process of winding new strings onto the tuning pegs. It makes the job easier and can save you time.
-
Wire Cutters: You’ll need these to trim the excess string after you’ve installed them. A clean cut can prevent snags.
-
Guitar Tuner: This tool helps you get your guitar in tune after you put on the new strings. It’s especially useful since new strings often stretch and need adjusting.
Having these tools on hand will make your string-changing experience much more enjoyable.
Understanding String Gauges and Materials
Strings come in various gauges and materials, which can affect how your guitar sounds and plays.
The gauge refers to the thickness of the strings, usually measured in thousandths of an inch.
-
Light Gauge: These are easier to play and bend but may break more easily. They’re great for beginners or for playing softer styles.
-
Medium Gauge: These offer a balance of playability and tone. They’re a solid choice for most styles.
-
Heavy Gauge: These have a thicker feel and fuller sound but can be more challenging to play.
Material also makes a difference.
Common options include nickel-plated steel for brightness and stainless steel for durability.
Choose the right gauge and material based on your playing style and guitar setup.
Removing Old Strings
Changing strings is a straightforward process, but you need to handle the old strings correctly first.
This involves loosening them, cutting them safely, and disposing of them properly.
Here’s how to make it easy.
Loosening the Tension
Start by loosening the old strings.
Use the tuning machine at the headstock to turn each peg counterclockwise.
This will relieve the tension, making it easier to remove the strings later.
Make sure to loosen each string gradually.
You don’t want to rush and break anything.
If you press down on the string while loosening it, you can help it unwind better.
Once the tension is off, you can gently pull each string from the bridge.
If your guitar has bridge pins, wiggle them a bit to make removal easier.
Cutting and Discarding Strings
After loosening the strings, you can cut them safely.
Use a string cutter to snip them around the tuning post.
This helps avoid any accidental snaps that might hurt you.
Once you cut the strings, carefully remove them from the tuning pegs.
Take hold of the string and pull it out from the bridge.
If you have bridge pins, you may need to pull those out with pliers.
Finally, discard the old strings responsibly.
Avoid just throwing them in the trash.
Instead, consider keeping them in a container or recycling them.
Your hands and your environment will thank you!
Installing New Strings
Getting the new strings on your electric guitar properly is key to great sound and playing stability.
This process involves attaching the strings at the bridge, winding them around the tuning pegs, and stretching them for better tuning stability.
Attaching Strings to the Bridge
Start by placing the end of the string through the bridge.
Depending on your guitar, this could be a string-through body or a tremolo bridge.
Make sure to pull it through enough to secure it.
Next, for a string-through body, thread it until the ball end catches.
If you’re using a tremolo system, attach the string to the appropriate slot.
Double-check that the string is correctly positioned to avoid slippage.
This setup supports your playing.
An improper bridge installation might lead to premature breakage or tuning issues.
Winding Strings Around the Tuning Pegs
Once the strings are attached to the bridge, it’s time to wind them around the tuning pegs.
Pull the string up to the tuning peg, leaving some slack for winding.
Start by inserting the string into the tuning peg hole.
Make sure to wind it in the direction that tightens the string.
This usually means winding clockwise for the bass strings and counterclockwise for the treble strings.
Keep tension on the string and wind it neatly—this prevents buzz and helps maintain tuning stability.
Aim for three to five wraps around the peg for better grip.
Stretching Strings for Stability
After all the strings are installed, stretching them is crucial.
Lightly pull each string away from the guitar neck with your fingers.
This process helps settle them into place.
You should stretch each string gently.
Avoid pulling too hard; just enough to feel resistance.
After stretching, it’s good to tune the guitar again.
This adjustment will improve your tuning stability during your next session.
Regular stretching and tuning will save you from constant adjustments mid-performance.
Plus, it makes your playing experience much smoother!
Tuning and Maintenance Tips
Keeping your guitar in tune and maintaining the strings can make a big difference in your playing experience.
A well-tuned guitar sounds better and keeps you motivated to practice.
Here are a couple of key areas to focus on.
Fine-Tuning Your Guitar
Using a reliable guitar tuner is essential for precise tuning.
Clip-on tuners are popular and easy to use.
You can also find tuning apps for your smartphone that work just as well.
When tuning, check each string one at a time.
Pluck the string and adjust the tuner until you reach the correct pitch.
Always tune up to the pitch instead of down.
This keeps the tension on the string and helps it stay in tune longer.
If you’re preparing for a gig, remember to tune your guitar before performing.
Allowing time for any adjustments can make your performance smoother.
You might also want to visit your local music store to chat with a guitar tech for tips.
Maintaining String Life
To keep your strings in top shape, wipe them down after each use.
Use a clean cloth to remove sweat and oils that can build up.
This simple step can help extend their life.
Consider changing your strings regularly, especially if you play frequently.
If you play acoustic guitar, look for high-quality acoustic guitar strings that are designed for durability.
Also, avoid leaving your guitar in extreme temperatures or humidity.
This can affect the strings and the instrument itself.
Storing your guitar in a case when not in use can protect it from unwanted damage.
Frequently Asked Questions
Changing guitar strings can feel tricky at first, but with some quick tips and tricks, it can become a simple task.
Here are some common questions that can guide you through the process for different guitar types.
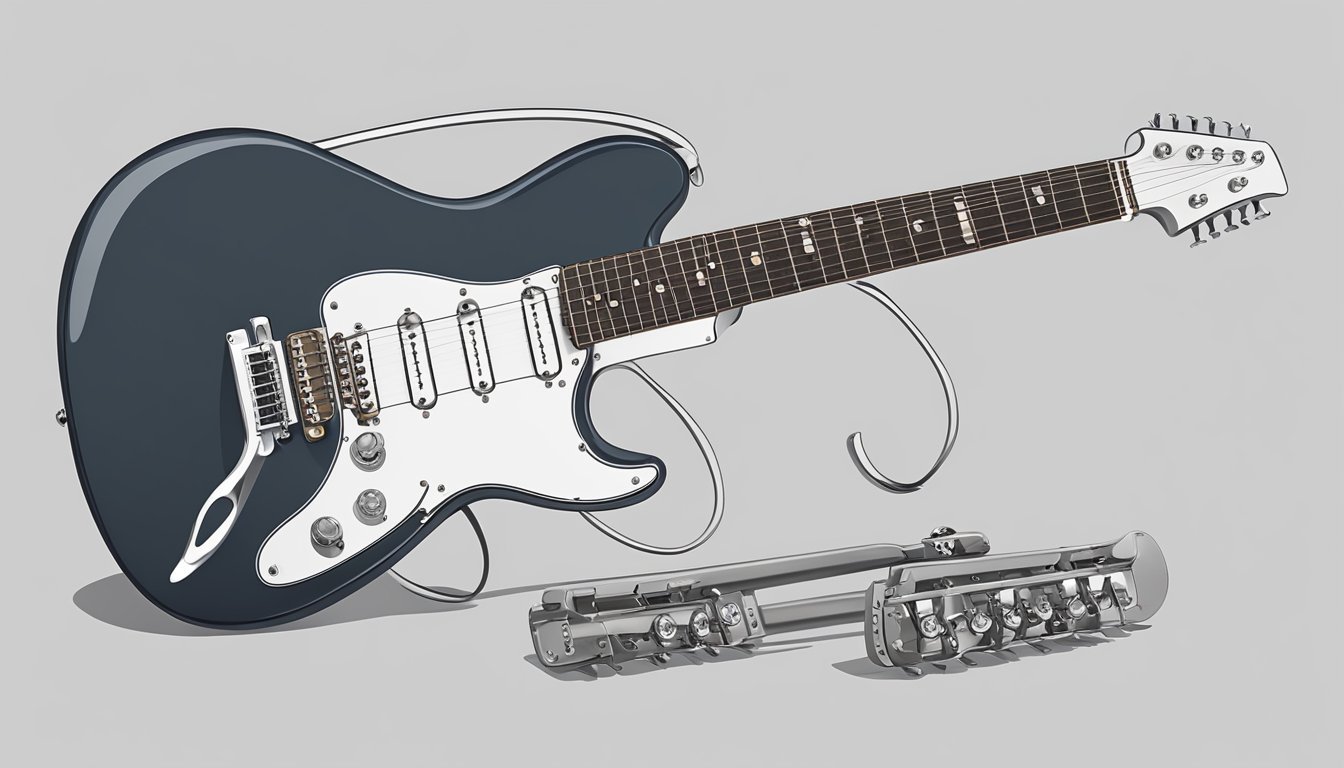
What’s the easiest way to swap strings on a Stratocaster?
For a Stratocaster, start by loosening the strings.
You can use a string winder for faster removal.
Once they’re off, thread the new strings through the bridge and pull them up to the tuning posts.
Then wind them neatly around the posts for a secure fit.
Can I change my electric guitar strings even if I don’t have any tools?
Yes, you can change your strings without special tools.
Just use your hands to loosen and remove the old strings.
You can use a pair of pliers if needed to grip the strings when removing or cutting them.
A simple clipper works well for cutting new strings to length if you have one handy.
Steps to replace strings on an Epiphone, got any tips?
To change strings on an Epiphone, start by removing the old ones by loosening and cutting them.
Feed the new strings through the bridge tails and bring them up to the tuning pegs.
Make sure to leave some slack before winding them around the pegs to ensure better tuning stability.
I’m new to guitars, so how do I start changing strings on my electric?
If you’re new, start by finding a safe space to work.
Loosen the strings a little, then carefully cut them with scissors or wire cutters.
Thread the new strings through the bridge and wind them around the tuning pegs.
Tuning each string before playing is essential.
Anyone got advice on changing electric guitar strings on a Yamaha?
For a Yamaha guitar, check if it has a tremolo system.
Loosen the old strings completely before cutting.
Then, slide the new strings through the tremolo and pull them up to the tuning pegs.
Remember to wind them tightly to avoid slipping.
Do you need to take your Telecaster to a pro to have the strings changed?
You don’t need to take your Telecaster to a pro for string changes.
You can do it yourself in just a few minutes.
Just loosen the old strings, remove them, and thread the new ones through the bridge.
Make sure to wind them correctly on the tuning pegs for stability.