
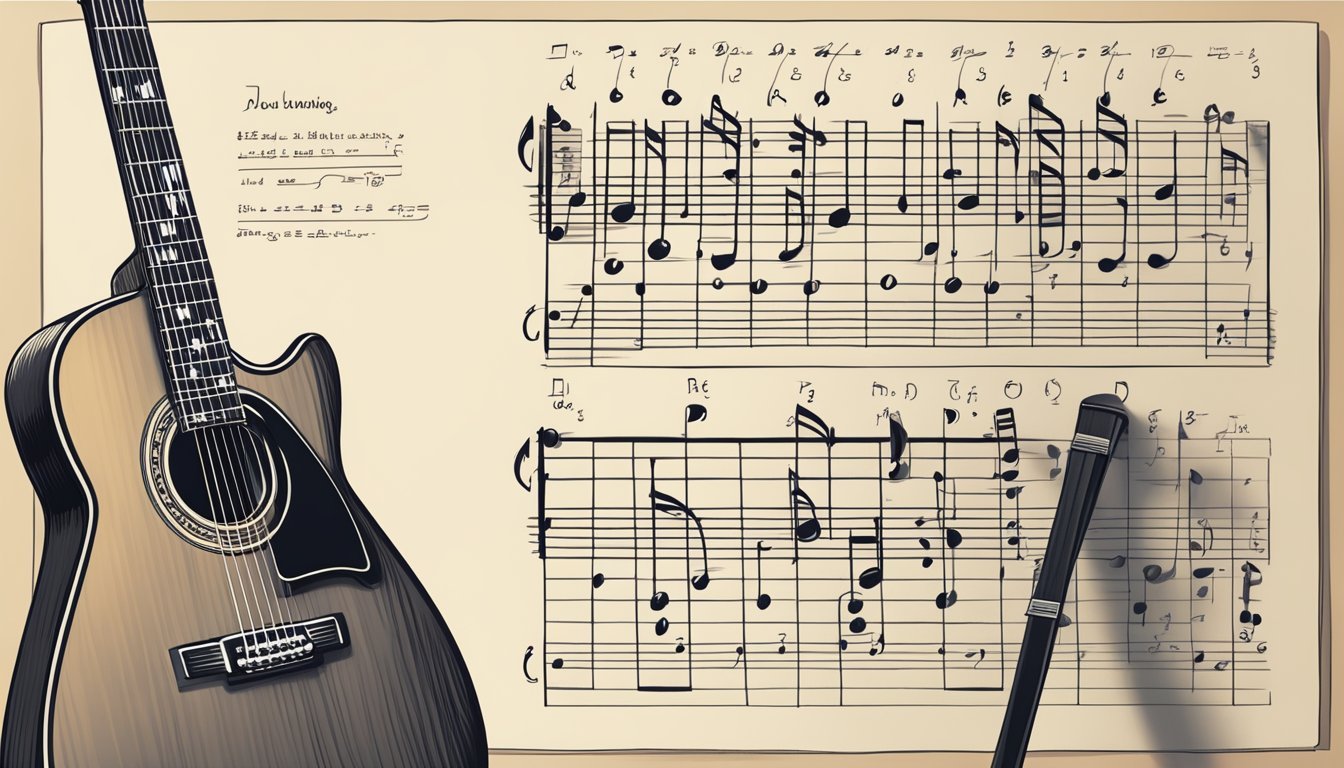
Learning to play guitar can be exciting, but understanding how to read guitar chord charts is key to advancing your skills. Chord charts are visual guides that show you where to place your fingers on the fretboard to play different guitar chords. With just a little practice, you can quickly decode these diagrams and strum your favorite songs.
Reading chord charts may seem tricky at first, but once you grasp the basics, it becomes much easier.
Each chart displays strings and frets, marking where to put your fingers for open and barre chords.
Mastering these concepts will help you gain confidence and keep you motivated as you learn more complex chords.
So, if you’re ready to unlock the door to playing great music, let’s dive into how to read those essential guitar chord charts and take your guitar playing to the next level.
Key Takeaways
- Understanding chord diagrams is essential for beginners.
- Knowing fingering positions allows you to play chords accurately.
- Mastering open and barre chords increases your playing options.
Understanding the Basics

When you start learning to read guitar chord charts, it’s important to grasp the basic structure and language of these diagrams.
This section breaks down what you need to know to navigate chord charts easily.
Anatomy of a Guitar Chord Chart
A guitar chord chart is a visual guide that shows you how to play a specific chord.
You’ll see horizontal and vertical lines that represent the guitar neck.
The vertical lines stand for the strings, while the horizontal lines represent the frets.
At the top of the chart, you’ll find the chord name.
This indicates which chord you’re going to play.
The dots or numbers on the lines show where to place your fingers.
It’s helpful to remember that the thickest string is on the left, and the thinnest string is on the right.
Strings and Frets
Understanding strings and frets is crucial when reading a chord chart.
The guitar has six strings, each with a specific pitch.
The thickest string is the low E, and the thinnest is the high E. Knowing their order helps you follow along with the chord chart.
The frets are the metal strips on the neck of your guitar.
Each fret raises the pitch of a note.
In a chord chart, when a dot appears on a string, it tells you which fret to press down.
For example, a dot on the second fret of the A string means you should press that string at the second fret while strumming.
Chord Names and Symbols
Chord names and symbols are what you’ll use to identify the chords.
Common chords like A, D, and E are often used in many songs.
Sometimes, you might also see symbols like “maj” for major chords or “min” for minor chords.
These symbols provide additional information about the chord.
Make sure you familiarize yourself with them so you can play a variety of songs easily.
Decoding Fingering Positions
Understanding fingering positions is essential for playing chords effectively on the guitar.
Knowing where to place your fingers can make a big difference in how well you play.
Here’s a closer look at the important aspects of finger placements, finger numbers, and strumming patterns.
Finger Placements
When you read a chord chart, you’ll notice that specific finger placements are marked.
Each line represents a string, and each fret is noted by a number.
For example, if the chart shows “2” on the A string (the second thickest string), you should place your index finger on the second fret of that string.
Using your index finger, middle finger, ring finger, and pinky is crucial.
Typically, your index finger is used for the 1st fret, the middle finger for the 2nd fret, the ring finger for the 3rd fret, and the pinky for the 4th fret.
This keeps your hand in a comfortable position while you play.
Finger Numbers and Fretting Hand
Every finger is assigned a number to help you remember where to place them.
Here’s a quick guide:
- 1: Index finger
- 2: Middle finger
- 3: Ring finger
- 4: Pinky
In chord diagrams, these numbers appear next to the frets you should press down.
For example, a common chord like G major might show:
- 3 on the E string (ring finger)
- 2 on the A string (middle finger)
- 0 on the D string (open)
- and so on.
Using these finger numbers helps you keep track of what to do with your fretting hand as you switch chords.
Reading Strumming Patterns
While finger placements are key, understanding strumming patterns is just as important.
This tells you how to play the rhythm of the chords.
Strumming is usually shown with arrows: downstrokes are often marked with a downward arrow, while upstrokes are marked with an upward arrow.
Listening to songs can help you get the feel for different strumming patterns.
Practice by trying to match the rhythm with your strumming.
Start slowly and increase the speed as you become more comfortable.
Look for patterns that repeat, as they will make it easier for you to remember and play along with your favorite songs.
Playing Open and Barre Chords
Understanding how to play open and barre chords will give you more options when playing your favorite songs.
Open chords use the open strings for a fuller sound, while barre chords allow you to play anywhere on the neck of the guitar.
Mastering Open Chords
Open chords are usually among the first chords you learn.
They include shapes like G, A major, C, and D. These chords use open strings to create rich sounds.
To get comfortable with open chords:
- Practice finger placement: Make sure your fingers press the right frets without touching other strings.
- Strum slowly: Start with a slow strum to hear each note clearly.
Common chord progressions using open chords include G to C to D, making them great for beginners.
Navigating Barre Chords
Barre chords are a step up from open chords.
These chords involve using one finger to press down multiple strings across a fret.
The F and B major chords are classic examples.
Learning barre chords takes practice:
- Use your index finger: It acts as a “bar” over the fret.
- Strengthen your hand: This may feel uncomfortable, but you’ll build strength over time.
Once you get the hang of them, barre chords can be moved up and down the neck for different sounds.
Transitioning Between Chords
Moving between open and barre chords can be tricky but is essential for playing songs seamlessly.
Here are some tips to make transitions easier:
- Plan your movements: Before you play, visualize where your fingers need to go.
- Practice chord progressions: Try common progressions, like A major to F, to improve your flow.
Focus on keeping your strumming hand consistent while switching chords.
This will help maintain rhythm even as your fingers move.
Keep at it, and your transitions will improve!
Advanced Concepts
Once you understand the basics of reading guitar chord charts, you can explore more advanced ideas that help you play better.
You’ll dive into triads and extensions, along with some essential music theory concepts.
Exploring Triads and Extensions
Triads are three-note chords formed from the root, third, and fifth of a scale.
They’re the building blocks of many songs.
For example, the C major triad includes the notes C, E, and G.
You can also expand these triads into four-note chords called extensions.
Adding a seventh note creates a fuller sound.
For instance, a C major 7th chord (Cmaj7) includes C, E, G, and B.
You’ll find that incorporating triads and extensions can really enhance your playing.
Using chord diagrams makes it easier to visualize these shapes.
You might see diagrams labeled with finger placements.
This helps you to quickly learn these chords.
Incorporating Music Theory
Understanding some music theory can really boost your guitar skills.
Start with the relationship between chords and scales.
Each chord relates to a scale, giving you a clearer idea of what notes fit where.
For example, if you’re playing an A minor chord, the A minor scale guides you on which notes sound good.
Thus, practice using both together.
It will strengthen your improvisation and songwriting skills.
You’ll notice that many guitar players use chord progressions in their songs.
Being familiar with common progressions like I-IV-V can help you write your own music.
Check out resources like Fender Play for more on music theory that applies to guitar.
This knowledge can aid you in reading both guitar chord diagrams and standard notation.
Frequently Asked Questions
You might have some questions about reading guitar chord charts.
Here are some common ones that can help you get started and make things clearer.
How do you figure out where to put your fingers from a guitar chord chart?
To figure out finger placement, start by looking at the chart.
The vertical lines show the strings, and the horizontal lines show the frets.
Black dots tell you where to place your fingers on the strings.
Got any tips for beginners trying to understand guitar chord diagrams?
As a beginner, focus on a few basic chords first.
Practice moving between them smoothly.
Also, use charts that show finger numbers for extra help.
What do the numbers in a guitar chord chart represent?
The numbers on a chord chart refer to which fingers to use.
For example, 1 is for your index finger, 2 for your middle finger, and so on.
This helps you know how to play each chord correctly.
How can I read guitar tabs if I’m just starting out?
Guitar tabs show you where to place your fingers on the fretboard in a simple way.
Each line represents a string, and the numbers show which fret to press.
Start with easy songs to build confidence.
Can you explain how to use a guitar chord chart when you’re playing?
When using a chord chart, keep your eyes on the chart while you play.
Check which chords come next and practice transitioning between them.
This helps you stay on track while learning a song.
What’s the deal with those lines and dots on a guitar chord diagram?
The lines on a chord diagram represent the strings of the guitar, while the dots show you where to place your fingers.
The top line is the highest string (thinnest) and the bottom line is the lowest (thickest).
Each dot’s position tells you exactly where to press.