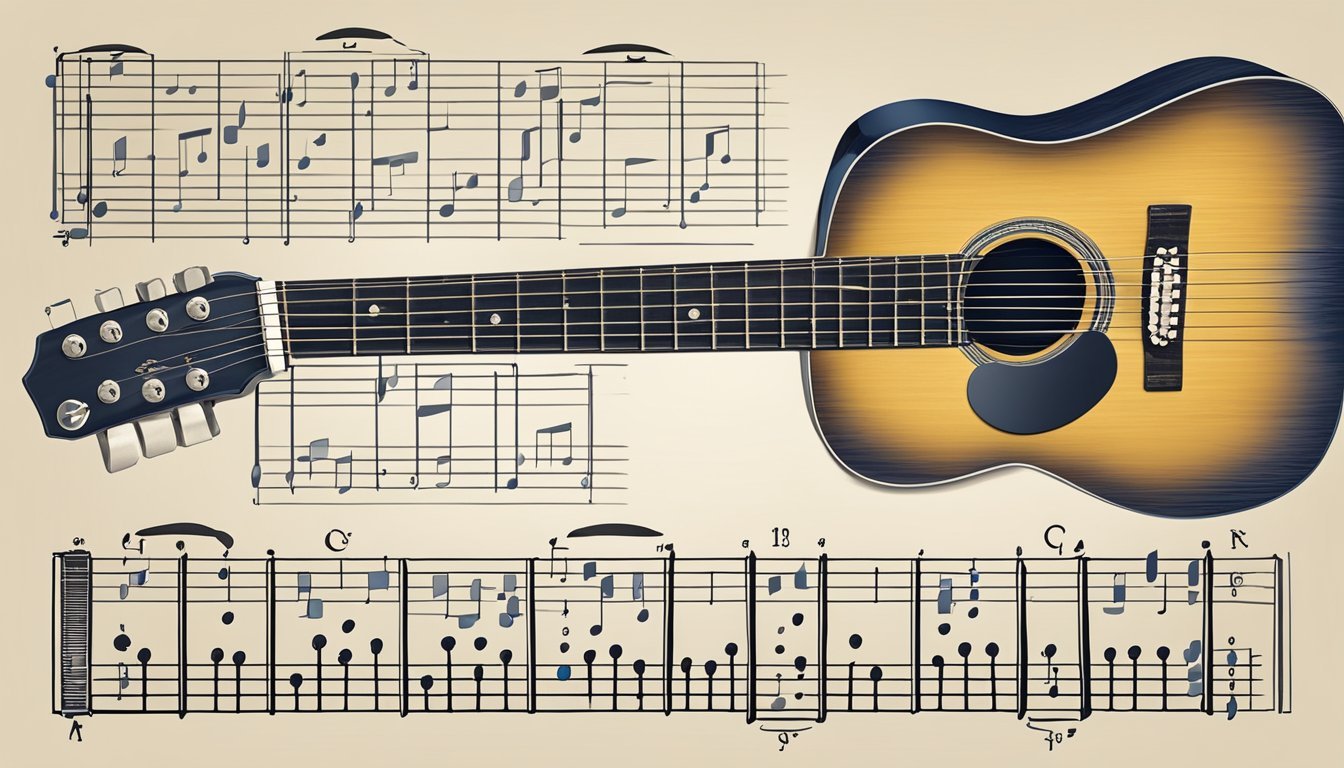
Learning to read a guitar chord chart can make your music journey much smoother.
A guitar chord chart visually shows you where to place your fingers.
This makes it easier to strum and play your favorite songs.
Understanding this simple tool can help you quickly pick up new chords and improve your playing skills.

As a beginner guitarist, getting comfortable with chord charts is a game changer.
You’ll find that these charts not only guide you in finger positioning but also enhance your sense of rhythm and strumming patterns.
Once you get the hang of it, you’ll be on your way to expanding your chord repertoire and enjoying playing music like never before.
Key Takeaways
- A guitar chord chart shows finger positions for each chord.
- Knowing how to read these charts can boost your playing skills.
- Mastering chart reading opens up a wider range of songs to play.
Understanding the Basics of a Guitar Chord Chart
Guitar chord charts are useful tools for learning how to play songs.
They show you where to place your fingers on the strings and which strings to strum.
Let’s break down the key parts of a chord chart so you can make sense of it all.
Decoding Strings and Frets
When you look at a chord chart, the vertical lines represent the guitar strings.
The leftmost line is the low E string, and the rightmost is the high E string.
Each line shows you how to position your fingers.
The horizontal lines represent the frets on your guitar.
If there’s a number on a line, it tells you which fret to press down.
For example, if there’s a “2” on the D string line, you’ll place a finger on the second fret of that string.
The open strings, shown as circles, mean you strum that string without pressing down.
Identifying Chord Names and Diagrams
At the top of the chart, you’ll usually find the chord name.
This tells you which chord you’re playing, like G or C. The diagram below it displays where your fingers go.
In these diagrams, dots represent where to place your fingers.
For instance, a dot on the G string at the 3rd fret means you press that string down at that fret.
Also, look for X’s and O’s above the strings.
An “X” means not to strum that string, while an “O” indicates to play it open.
Understanding these basics helps you read chord charts more easily and enjoy playing.
Fingering Techniques and Finger Positioning
Getting your fingers in the right spots on the guitar is key to playing chords smoothly.
Knowing finger numbers and mastering different chord shapes will help you a lot.
Let’s break this down into two important areas.
Mastering Finger Numbers and Placement
Understanding finger numbers will make learning chords easier.
Use the following mapping:
- 1 – Index finger
- 2 – Middle finger
- 3 – Ring finger
- 4 – Pinky
When you look at a chord chart, the dots show where to place your fingers.
Each dot represents a fret on the guitar fretboard.
Pay attention to which finger goes where for each chord shape.
For example, if a chord chart shows a dot on the 2nd fret of the A string, you’ll likely use your index finger (1) to press that string down.
Getting used to these finger placements makes it easier to switch between chords when you play.
Executing Barre Chords and Open Chords
Barre chords can be tricky at first, but they’re super useful.
To play a barre chord, use your index finger to press down multiple strings across a fret.
This creates a “bar” that holds down all those strings.
For open chords, you’ll often use a mix of fingers.
These chords can be easier because you leave some strings open, which gives a rich sound.
Remember to build your hand strength slowly while practicing.
Start with simple shapes, like C, G, and D. Focus on clean notes that ring out clearly.
Proper finger positioning will make a big difference in your sound and ability to play smoothly.
Strumming and Rhythmic Patterns
Getting a hang of strumming and rhythm is key to playing guitar well.
They shape how your music feels and can make even simple chords sound great.
Let’s break down how to strum correctly and apply different rhythms to your chord progressions.
Understanding Strumming Techniques
Strumming is all about the movement of your hand.
You can use downstrokes and upstrokes to create different patterns.
- Downstroke (D): Strum down across the strings. It’s often used on strong beats.
- Upstroke (U): Strum up towards the ceiling. This is frequently used to add a light touch to the rhythm.
Common patterns might include D-D-U-U-D-U. When you practice, focus on keeping your wrist loose and relaxed.
Using a metronome can help you keep time.
Start slow, then gradually increase your speed as you get comfortable.
Applying Rhythms to Chord Progressions
Every chord progression can have its own rhythm.
Start by picking a simple progression, like G-C-D.
Now, try these rhythms:
- Straight Rhythm: Use a steady D-D-D-D pattern.
- Swing Rhythm: Mix it up by alternating D and U strokes, making some notes longer than others.
Experiment with different strumming patterns.
Try to listen as you play.
Notice which rhythms fit well with your chords.
Using simple rhythms can give your music a solid foundation.
This makes it easier to add your own flair later.
Expanding Your Chord Repertoire
Building your chord repertoire is essential for playing a wide range of songs.
It opens up many musical possibilities and helps you become a more versatile guitarist.
You can dive into major and minor chords, explore triads, and learn how to integrate these chords into actual songs.
Learning Major and Minor Chords
Start with the basics: major and minor chords.
They form the foundation of most songs.
For example, the C major chord consists of the notes C, E, and G. To play it, place your fingers on the 1st fret of the B string, 1st fret of the high E string, and 2nd fret of the D string.
Once you master the C major chord, you can easily transition to other major and minor chords, which will expand your musical repertoire.
Understanding these guitar chord basics for beginners is crucial, as it provides the groundwork for playing songs and creating harmonies.
Practice switching between chords smoothly to develop your finger strength and dexterity, which are essential for more advanced techniques.
On the other hand, the A minor chord has a more somber tone.
It involves placing your index finger on the 1st fret of the B string and your middle and ring fingers on the 2nd fret of the D and G strings, respectively.
By mastering these chords, you’ll be able to play countless songs.
Exploring Triads and Advanced Chords
Once you’re comfortable with major and minor chords, dive into triads.
A triad consists of three notes.
For example, a D major chord is a triad made up of D, F#, and A. These can be played in various positions on the fretboard.
You can also explore advanced chords like seventh chords.
They add depth and richness to your playing.
For instance, try adding a D minor seventh by including the 1st fret on the high E string along with your standard D minor chord shape.
This will expand your sound and improve your skills.
Integrating Chords Into Learning Songs
Now that you know major, minor, and some advanced chords, it’s time to apply them to learning songs.
Pick simple songs that use basic chords, such as “Knockin’ on Heaven’s Door.”
Use guitar chord diagrams that show finger positions clearly.
As you practice, focus on smooth transitions between chords.
Aim to play along with the song for a better feel.
This will not only help with memorizing the chords but also improve your timing and rhythm.
Enjoy the process and keep experimenting!
Frequently Asked Questions
You might have some questions about reading guitar chord charts.
Here, you’ll find clear answers to common concerns about numbers, chord diagrams, and other tips to boost your guitar skills.
What’s the deal with the numbers on a guitar chord chart?
The numbers on a guitar chord chart show you which fingers to use.
Your index finger is 1, the middle finger is 2, the ring finger is 3, and the pinky is 4.
This way, you know exactly how to position your fingers on the frets.
Can you explain how to interpret a chord diagram?
A chord diagram is a visual guide.
The six vertical lines represent the guitar strings, and the horizontal lines represent the frets.
Dots on the diagram tell you where to place your fingers to create the chord.
What’s the easiest way to understand guitar chord charts for newbies?
Start with simple chords like A, D, and E. Focus on practicing them until you feel comfortable.
Keeping your fingers relaxed and positioning correctly will help you read charts more easily over time.
Are there any cool tricks for reading guitar tablature?
When reading tablature, remember that each line represents a string.
The numbers indicate the fret you should press down.
It’s a quick way to learn songs since it’s easier than standard notation.
How do I figure out which fingers to use on a guitar chord chart?
Look for the numbers above the dots in the chord chart.
These numbers indicate which finger to use on each string.
Practice using those fingers until it feels natural.
Where can I score a free guitar chord chart PDF?
Many websites offer free chord charts as PDFs.
You can find resources that fit your needs with a quick search online.
For example, you might look for beginner chord charts or specific songs you want to learn.