Learning how to play the A minor chord on guitar opens up a world of music for you.
It’s a fundamental chord that many songs use, making it essential for any beginner guitarist.
Once you get the hang of this chord, you can start playing tunes that resonate with you and impress your friends.
Playing the A minor chord might seem tricky at first, but with a little practice, you’ll find it rewarding.
You can explore various techniques to make transitions smoother and even integrate it into different chord progressions.
This skill will greatly enhance your musical abilities and enjoyment.
Key Takeaways
- The A minor chord is vital for many songs.
- Mastering chord transitions makes playing easier.
- Understanding minor chords adds depth to your music.
Understanding Guitar Chords and the Minor Family
When you’re diving into guitar chords, it’s important to grasp how minor chords fit into the bigger picture of music theory.
This means understanding their structure and how they differ from major chords.
Decoding the Minor Chord
To form a minor chord, you start with a root note and add two specific notes.
The formula you’ll use is 1 (root), ♭3 (flattened third), and 5 (fifth).
For example, take the A minor chord.
In this case, you have A as the root, C as the flattened third, and E as the fifth.
Here’s a quick breakdown:
- Root (1): A
- Flat Third (♭3): C
- Fifth (5): E
When you play this chord, it creates a more soulful and somber sound compared to major chords.
E minor works similarly.
Its notes are E, G (flattened third), and B. These minor chord shapes often appear in many songs and can make your chord progressions feel deeper.
Distinguishing Minor and Major
Understanding the difference between minor and major chords enhances your playing.
Major chords have a bright, happy sound, built using the formula 1 (root), 3 (third), and 5 (fifth).
For example, the C major chord consists of C, E, and G.
The critical difference lies in the third note.
For a minor chord, you lower the third by a half step.
This shift gives minor chords their characteristic sound.
To see how they fit together in music, think of common chord progressions.
In a C major progression, you might use C, F, and G. To add emotional depth, you could switch to a progression using A minor or E minor, which shifts the mood significantly.
Explore chord diagrams and charts to help visualize these shapes.
Playing the A Minor Chord on Guitar
The A minor (Am) chord is essential for any guitarist.
You can play it in different shapes and positions.
Understanding its basics will help you blend it seamlessly into your playing.
Fretboard Basics
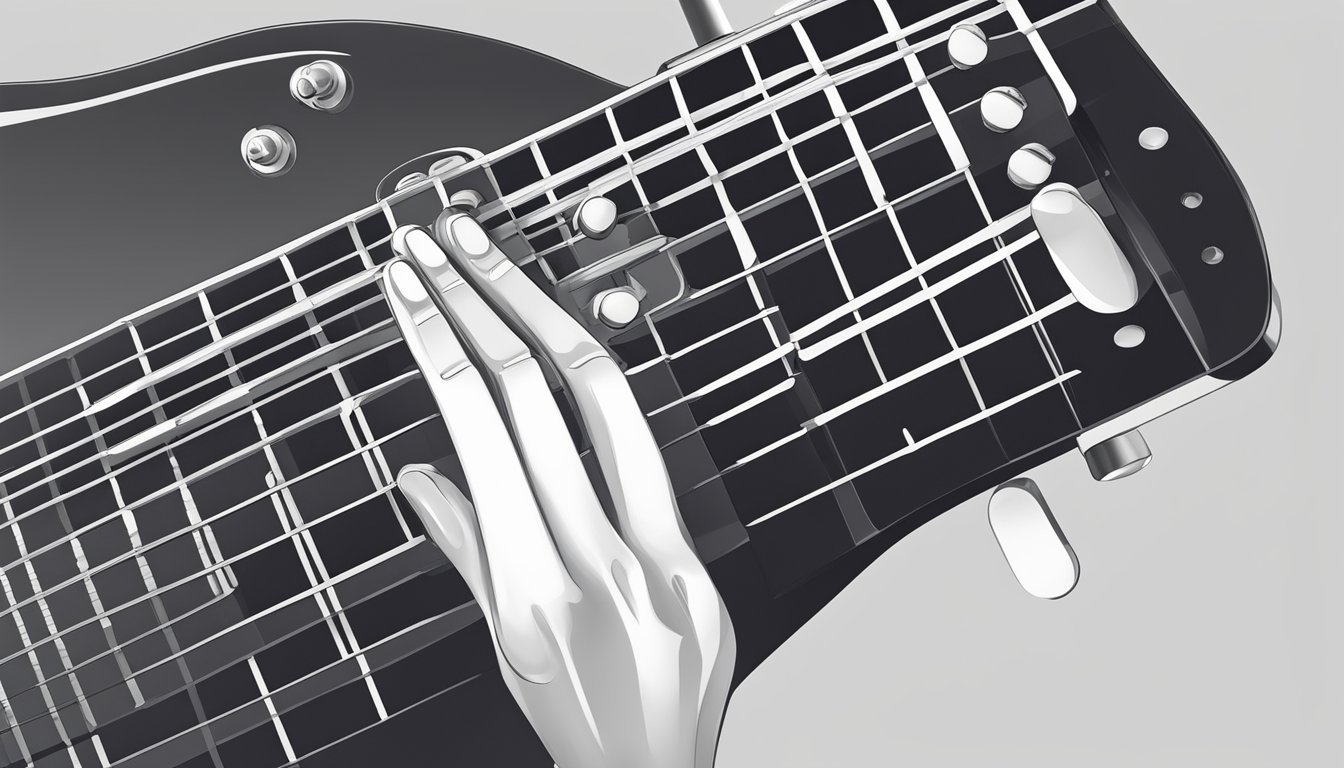
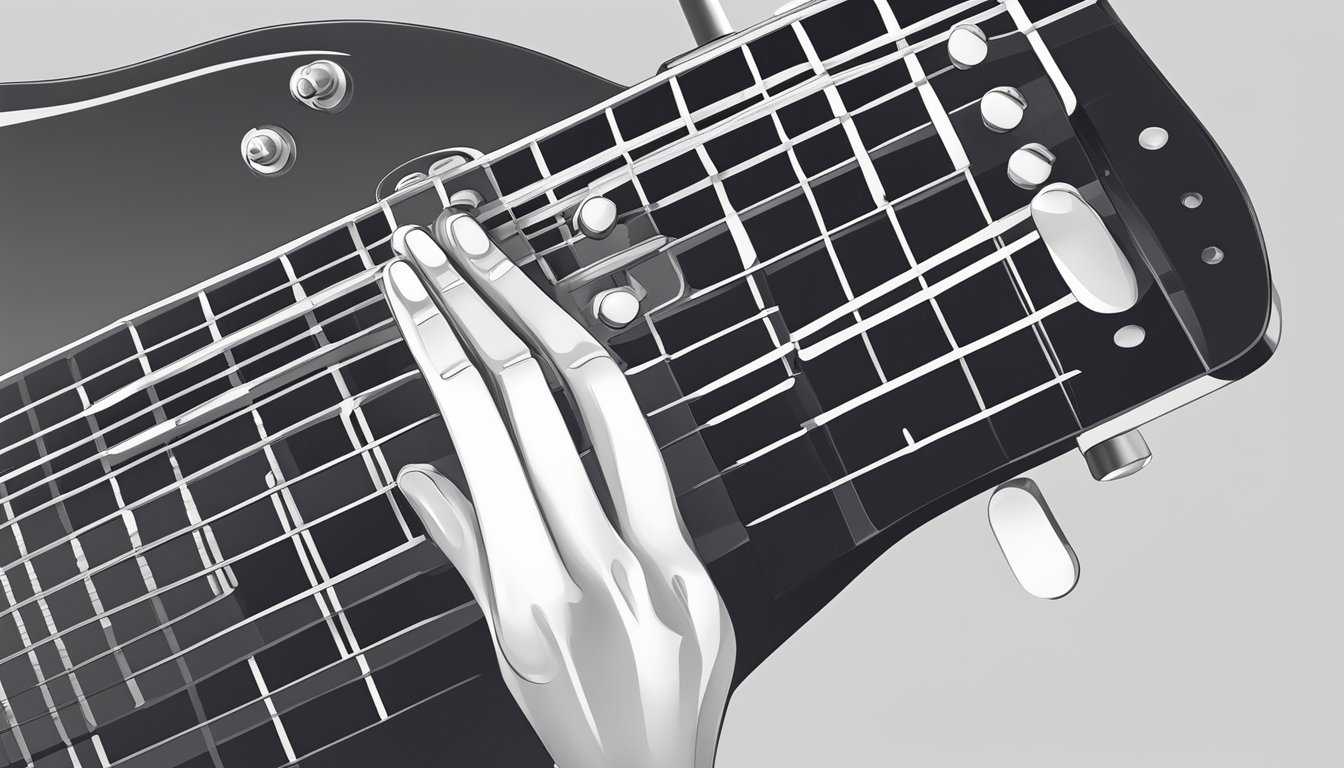
To play the open A minor chord, start by positioning your fingers correctly on the fretboard.
Here’s a quick breakdown:
- Index Finger: Place it on the 1st fret of the B string (2nd string).
- Middle Finger: Put it on the 2nd fret of the G string (3rd string).
- Ring Finger: Position it on the 2nd fret of the D string (4th string).
Make sure to avoid strumming the low E string (6th string) to keep the chord clean.
Your fingers should form an A minor chord shape, creating a rich, full sound.
If you’re struggling, use a chord diagram to visualize the placement.
Think of the root of the chord as the A note on the 5th fret of the low E string, but keep in mind you won’t use it in the open position.
A Minor Chord Variations
The A minor chord has several variations you can explore.
One common variation is the A minor barre chord.
This involves using your index finger to press down all strings at the 5th fret:
- Index Finger: Barre across all strings at the 5th fret.
- Ring Finger: Place it on the 7th fret of the A string (5th string).
- Middle Finger: Put it on the 6th fret of the G string (3rd string).
This shape allows you to move up and down the fretboard, giving you access to different keys.
You can also try the open Am chord shape for a softer sound or experiment with other chord shapes.
Incorporating these variations into your playing will add depth to your guitar skills.
Techniques for Chord Transitions and Progressions
Getting comfortable with chord transitions and progressions is essential for playing minor chords smoothly.
By practicing specific techniques, you can improve your finger dexterity and make your playing sound polished.
Here’s what you need to know.
Transitioning Between Chords
When switching between chords, like from D minor to A minor, pivot fingers can save you a lot of time and effort.
A pivot finger stays on the same fret while your other fingers move.
For instance, when going from D minor to A minor, keep your first finger on the first fret of the high E string.
This saves movement and helps with speed.
Practice Tip: Take your time with each transition.
Use open strings to help connect the chords, allowing for smoother changes.
Try to find chord shapes that share fingers, which helps maintain your hand position.
Progressions in the Minor Key
Minor chord progressions often have a distinct sound that many musicians love.
A popular progression is the i – VI – VII (like A minor – F – G).
This structure creates a nice flow and can be the basis for many songs.
Start by practicing the D minor chord progression: Dm – G – A. As you play, focus on how your fingers move.
Pay attention to your finger dexterity.
Tip: Use a metronome to keep your timing steady while practicing.
This builds muscle memory for those shapes.
With time, you’ll find these progressions easier to play in different keys, opening up more playing options for you.
Frequently Asked Questions
You might have some questions about playing the A minor chord on guitar.
Let’s break down the most common ones to help you get started.
Many beginners wonder about the finger positioning and strumming techniques necessary to effectively play this chord.
If you’re unsure where to place your fingers, there are plenty of tutorials available that can guide you through the process.
Additionally, if you are concerned about how to play guitar with small hands, there are specific strategies and chord modifications that can make it easier for you to reach the necessary notes comfortably.
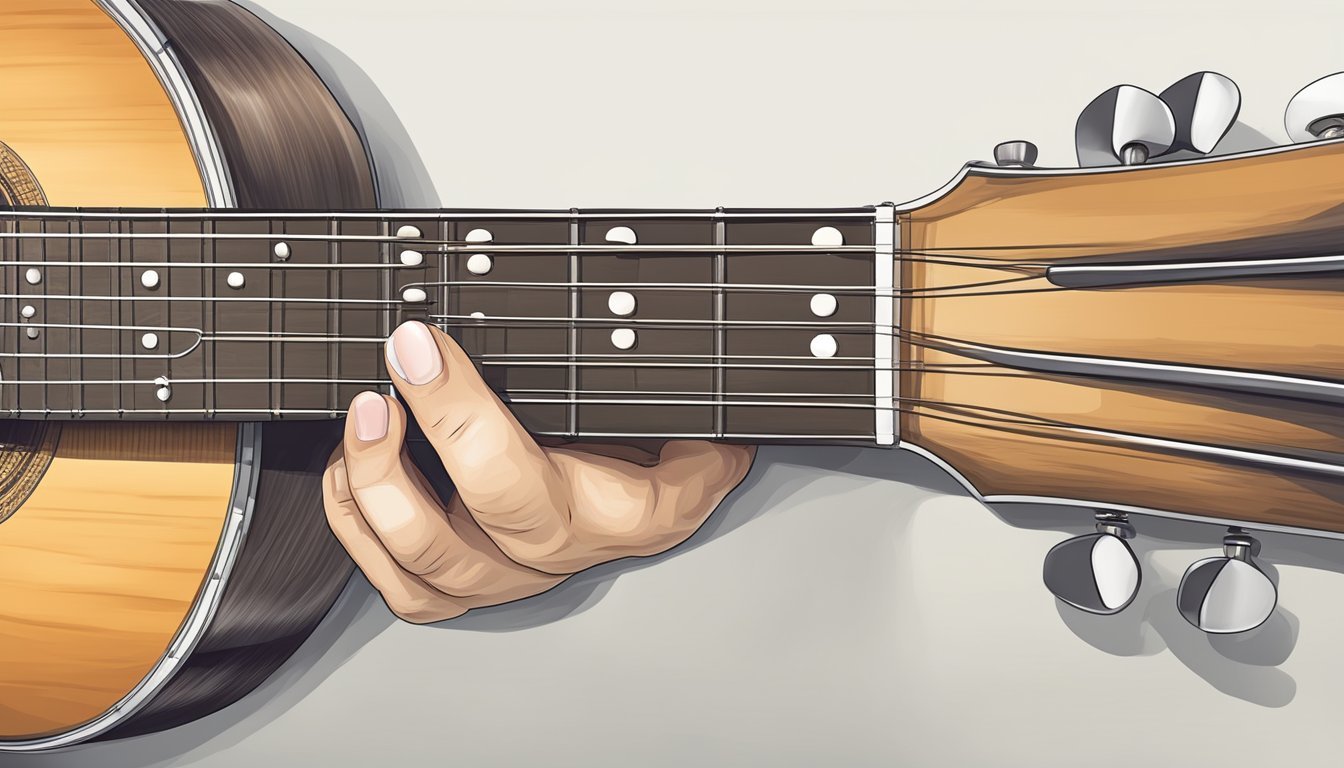
What’s the easiest way to finger the A minor chord on a guitar?
An easy way to finger the A minor chord is to use your index, middle, and ring fingers.
Place your index finger on the first fret of the B string, your middle finger on the second fret of the D string, and your ring finger on the second fret of the G string.
Can you break down the steps to play the A minor chord for beginners?
Sure! Start by putting your fingers in the correct positions.
Make sure to press down firmly on the strings.
Strum from the A string down to the high E string, avoiding the low E string.
Keep practicing the strum until it sounds clear.
What are the finger positions for the A minor chord in tablature?
In tablature, the A minor chord looks like this:
e|---0---
B|---1---
G|---2---
D|---2---
A|---0---
E|---X---
This shows that you should play the first fret on the B string, second frets on the G and D strings, and let the A string ring open.
How does the A minor chord differ from the E minor chord on guitar?
The A minor chord requires three fingers and is played higher up on the neck.
The E minor chord is easier because you only need two fingers on the second fret of the A and D strings.
E minor has a fuller sound and is often considered more straightforward for beginners.
What are the notes that make up an A minor chord?
An A minor chord consists of three notes: A, C, and E. The A note is the root, C is the minor third, and E is the perfect fifth.
These notes create the chord’s unique, slightly sad sound.
Any tips for smoothly transitioning to an A minor from another chord?
To transition smoothly, practice the switch with a chord you frequently use, like C major.
Focus on moving your fingers right after you strum the last note of the previous chord.
With careful practice, your transitions will become much smoother over time.