
Learning how to play a G chord on the guitar is a key skill for any aspiring musician. Mastering this chord opens the door to countless songs and practices, making it essential for beginners.
Whether you’re strumming along to your favorite tunes or just starting out, getting comfortable with the G chord will boost your confidence and keep you motivated.
In this article, you’ll discover simple ways to position your fingers correctly, making the G chord easier to play.
You’ll also learn tips and tricks to transition between different chords smoothly, helping you develop your skills as a guitarist.
This groundwork will set you up for success as you explore more complex chords and expand your musical repertoire.
As you dive into this guide, get ready to pick up a new skill that will enhance your guitar playing experience.
The G chord is more than just a note; it’s your gateway to creating music you love.
Key Takeaways
- Master the G chord for a strong foundation in guitar playing.
- Practice transitioning between chords for smoother strumming.
- Expand your chord repertoire to play a wider range of songs.
Getting to Know Your Guitar
Familiarizing yourself with your guitar is important for playing well.
Whether you have an electric or acoustic guitar, knowing the parts, how to tune it, and how to hold it will make your playing experience better.
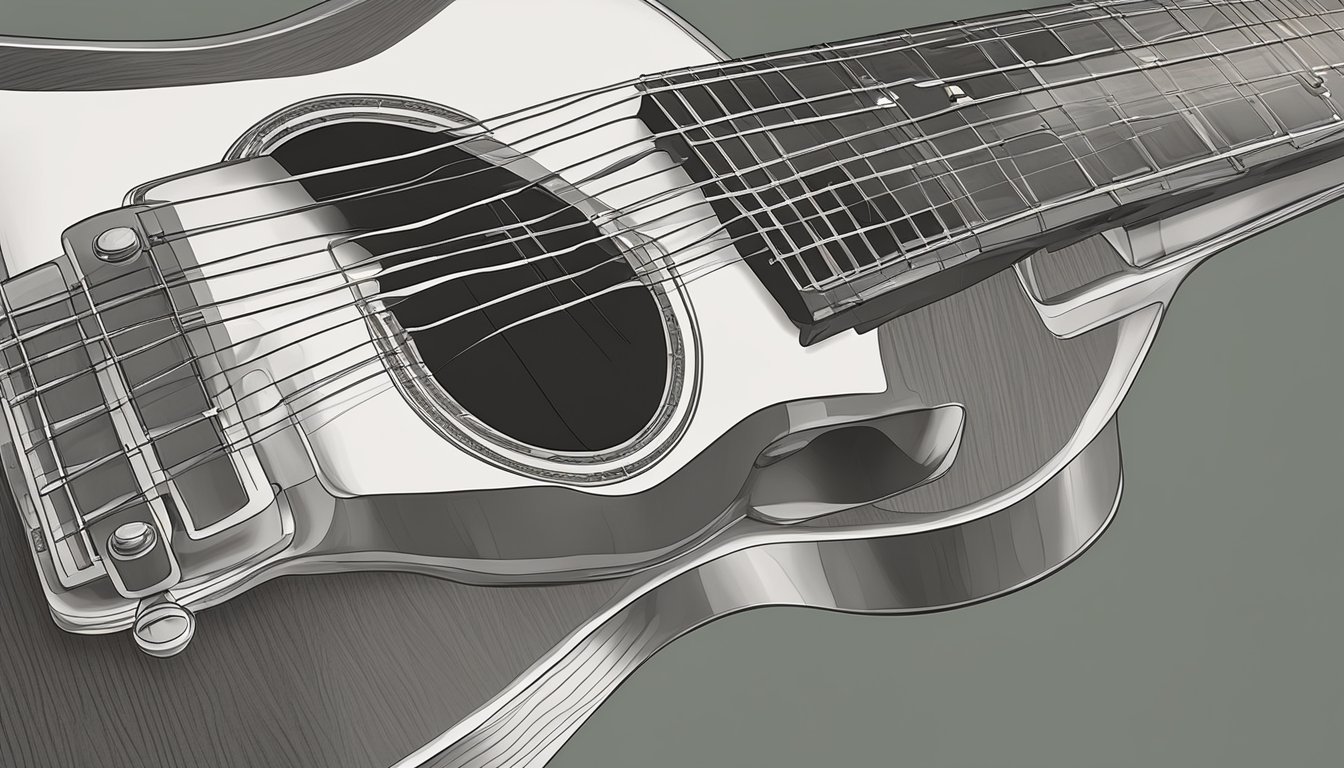
Parts of the Guitar
Your guitar has several key parts that you should know.
- Body: This is the large, hollow part. In an acoustic guitar, it helps create sound. For an electric guitar, it houses the pickups.
- Neck: The long, thin part you press your fingers on. It has fret markers to help you find your chords.
- Headstock: Located at the end of the neck, it holds the tuning pegs, which you use to tune your guitar.
- Strings: Usually six, they vibrate to produce sound. The thicker strings create lower notes, while the thinner ones play higher notes.
Understanding these parts helps you navigate your instrument easily.
Tuning Your Guitar
Tuning your guitar is crucial for good sound.
You can use a tuner or a tuning app to help.
Each string should be tuned to specific notes:
- 6th string (E) – the thickest string
- 5th string (A)
- 4th string (D)
- 3rd string (G)
- 2nd string (B)
- 1st string (e) – the thinnest string
Start by tuning the 6th string to the E note.
Then, adjust each string to the right pitch.
Keep checking as you play chords, as strings can slip out of tune.
Holding the Guitar
How you hold your guitar affects your playing.
Sit or stand comfortably, supporting the guitar on your leg or against your body.
The way you position your guitar can greatly influence your technique and overall sound.
Ensure that your posture allows for easy access to all the frets and strings, as this will enhance your ability to play intricate pieces.
For instance, if you’re learning how to play stand by me, having a stable and comfortable grip will help you strum the chords smoothly and confidently.
For acoustic guitars, keep the body stable.
With electric guitars, you can have more freedom of movement.
When placing your hands, your strumming hand should be relaxed.
Your fretting hand should curve over the neck, with fingers positioned just behind the frets.
This will help you press down the strings effectively for clear chords.
Fundamentals of the G Major Chord
Learning the G Major chord is essential for many songs.
It helps you understand finger placement and how to strum correctly.
Here’s what you need to know to get started.
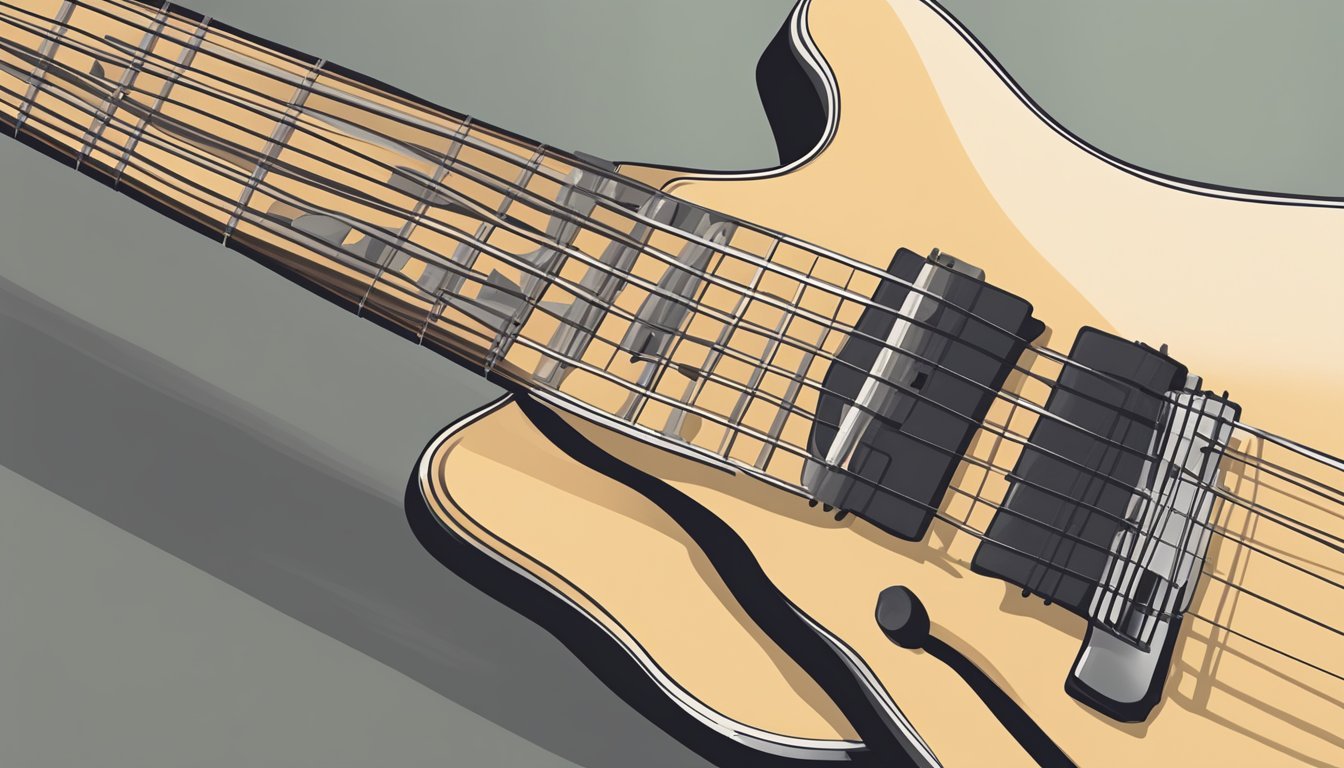
Finger Placement and Chord Shape
To play the G Major chord, start by positioning your fingers correctly.
Place your index finger on the 2nd fret of the A string (5th string).
Your middle finger should go on the 3rd fret of the low E string (6th string).
Finally, place your ring finger on the 3rd fret of the high E string (1st string).
You can also use your little finger to press down on the B string (2nd string) if you want a fuller sound.
Make sure your fingers are curled and pressing down just behind the frets.
This helps with clear sound without buzzing.
You are now ready to form the open G chord shape!
Playing the G Major Triad
The G Major triad consists of three notes: G, B, and D. When you press down the strings in your G chord shape, you produce these notes.
This triad is what gives the G Major chord its bright and uplifting sound.
You can play around with the triad by strumming only the strings you are pressing.
Focus on the E, A, and high E strings first, as these produce the core of the chord.
Strumming these notes lets you hear how the triad comes together, giving you a good grasp of this major sound.
Strumming the G Chord
Once your fingers are in place, it’s time to strum.
Use either a pick or your fingers.
Start by strumming the chord from the low E string down to the high E string.
Be sure to hit all the strings you are pressing down.
For a clean strum, try to avoid hitting open strings that you’re not fretting.
This will make sure your chord sounds bright and not muddy.
Practice strumming evenly to get a smooth, consistent sound.
You can add more rhythm once you’re comfortable!
Practicing Chord Transitions
Practicing chord transitions is essential for playing smoothly in the key of G. Focusing on specific transitions can help you switch between chords quickly and confidently, improving your overall playing.
Switching from G to C
To switch from G to C, start by placing your fingers in their G chord positions.
When preparing to move, lift your ring finger and place your middle finger on the second fret of the D string.
Next, move your index finger to the first fret of the B string.
Remember to keep your other fingers relaxed.
This change needs to feel natural.
Practice strumming slowly, focusing on clean sound.
Use the strumming technique of two upstrokes followed by two downstrokes.
Repeat this practice until you feel comfortable moving back and forth between G and C.
G to D Chord Transition
When transitioning from G to D, begin in the G position.
For the D chord, lift your ring and middle fingers, then place your index finger on the second fret of the G string.
Your middle finger goes on the second fret of the e string, and your ring finger on the third fret of the B string.
To make this easier, think about your finger movements.
Stay close to the fretboard to minimize lifting.
Strum only the top four strings to keep the focus on the D sound.
Repeat this switch using slow, controlled strumming patterns, gradually increasing your speed as you gain confidence.
Introducing Minor Chords
Once you’re comfortable with major chords, it’s a good time to introduce minor chords, like A minor or E minor.
To switch from G to A minor, start with your G position.
For A minor, move your index to the first fret of the B string, your middle finger to the second fret of the D string, and your ring finger to the second fret of the G string.
Transitioning to E minor is easier since it only requires moving to the second fret of the A and D strings.
Practice these transitions slowly at first.
Keep your fingers relaxed to avoid tension.
This practice will make you more versatile and improve your ability to switch between chords naturally.
Expanding Your Chord Repertoire
When you play guitar, adding new chords and progressions can make your music much richer.
You can experiment with variations of the G chord and mix them into different chord progressions.
Let’s dive into some exciting options.
G Chord Variations
There are many ways to play the G chord.
You might already know the standard G major.
You can try the G6 chord for a lighter sound.
To play it, place your middle finger on the 3rd fret of the low E string and let the A string ring open.
The G7 is another popular option.
It adds a bit of tension that works well in many songs.
You can play it by using your index finger on the 1st fret of the high E string while keeping your other fingers in the G position.
If you’re feeling adventurous, try the G barre chord.
This version requires you to press down all strings at the 3rd fret with your index finger.
It’s a great way to practice and build strength in your hand.
Exploring Chord Progressions
Once you’ve mastered the G chord variations, you can incorporate them into different progressions.
A simple yet effective progression is G – D Major – C Major.
This sequence is very popular in many songs, giving it a familiar and catchy sound.
You can also explore chord substitutions.
For instance, you can substitute the G chord with a G6 for a fresh twist.
Another option is using a 1-finger version of the G chord, which is easy for beginners.
Just place your index finger on the 2nd fret of the A string, letting other strings ring open.
Experimenting with these chords can greatly enhance your playing and creativity.
Grab your guitar and have fun mixing things up!
Frequently Asked Questions
If you’re learning how to play the G chord on guitar, you probably have some common questions.
Let’s break down some easy answers to help you get started.
What’s the simplest way to play a G chord for beginners?
The easiest way to play a G chord is to use three fingers.
Place your middle finger on the 3rd fret of the low E string, your index finger on the 2nd fret of the A string, and your ring finger on the 3rd fret of the B string.
This gives you a solid G chord without too much fuss.
Can you show me some easy G chord variations for the guitar?
Sure! A few easy variations include the G major chord using just three fingers, or adding your pinky to the 3rd fret of the high E string for a fuller sound.
You can also try a version where you use your index finger to cover multiple strings, which can change the tone slightly.
What are the finger positions for playing a G chord?
To play the G chord, your finger positions are key.
Use your middle finger on the 3rd fret of the low E string, your index finger on the 2nd fret of the A string, your ring finger on the 3rd fret of the B string, and your pinky on the 3rd fret of the high E string.
Make sure to leave the D and G strings open.
Which strings do I strum for a clean G chord on the guitar?
For a clean G chord, strum all six strings.
Be sure to avoid muting any strings with your fingers.
This full strum gives that characteristic sound of the G chord.
How do I transition from a C chord to a G chord smoothly?
To transition from a C chord to a G chord, lift your index finger and shift your middle and ring fingers down one string.
Then, add your pinky to the 3rd fret of the high E string.
Practice moving between these two chords slowly to make it seamless.
What’s the deal with using three or four fingers for a G chord?
Using three fingers is simpler and works great for beginners.
However, using four fingers can create a richer sound.
Many players stick with three fingers, but experimenting with four can really enhance your playing.