
Playing “Stand By Me” on guitar is not only a fun experience, but it’s also a great song to learn for any musician.
With just a few simple chords and strumming patterns, you can easily strum along with this classic tune.
Whether you’re a beginner or looking to refresh your skills, you’ll find that this song offers a perfect blend of challenge and enjoyment.
To get started, make sure your guitar is properly tuned.
Familiarizing yourself with the basic chord shapes will help you navigate through the song smoothly.
Once you get the hang of those, it’s all about finding a strumming pattern that fits your style.
With practice, you will be able to confidently play through the entire piece.
Key Takeaways
- Tune your guitar correctly for the best sound.
- Learn the essential chords used in the song.
- Practice strumming to match the rhythm and flow.
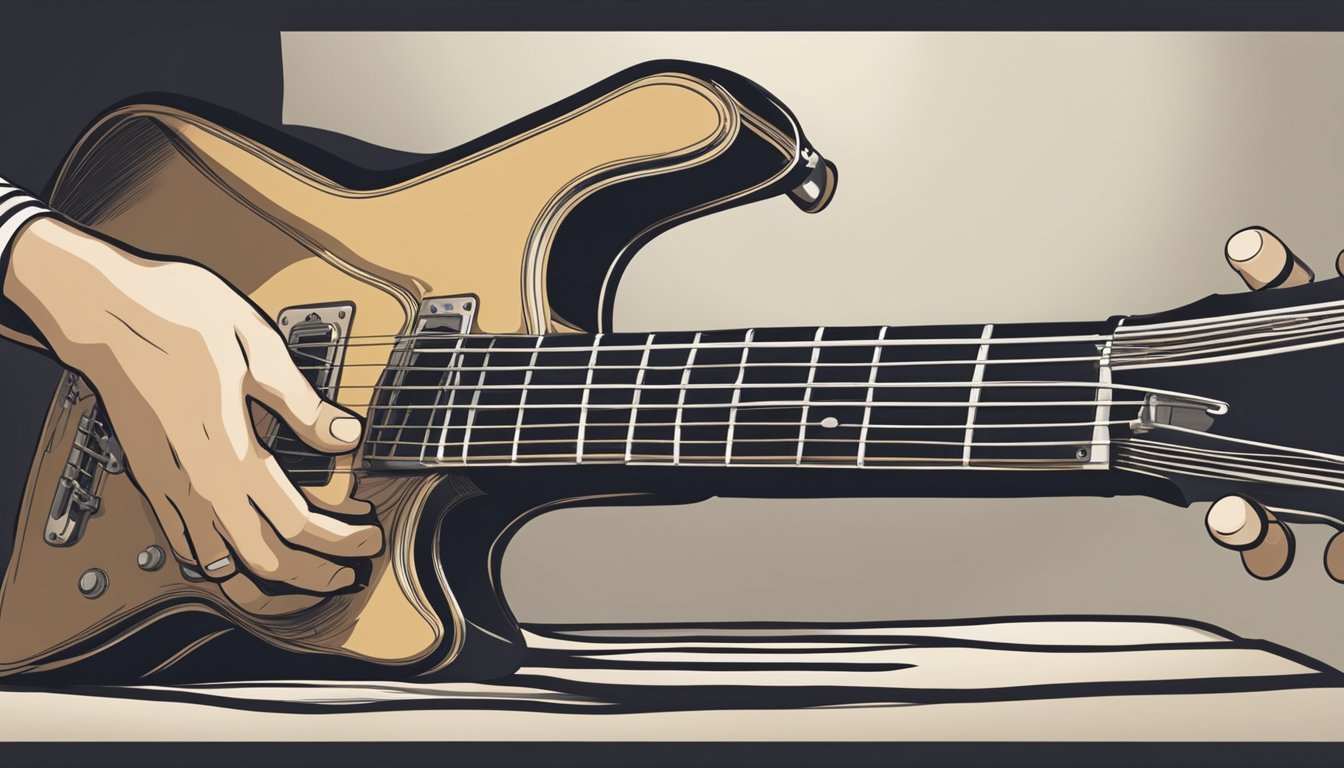
Tuning and Setting Up Your Guitar

Before you start playing “Stand By Me,” make sure your guitar is properly tuned.
A well-tuned guitar makes a big difference in sound quality.
To ensure you can enjoy the song to its fullest, take a moment to adjust your seating position and grip.
Learning how to hold a guitar comfortably is crucial for maintaining good posture and avoiding strain during practice.
Once you’re settled in, you’ll find it much easier to focus on the chords and melody as you play.
You can use an electronic tuner or a tuning app for accuracy.
The standard tuning for a guitar is E A D G B e, from the thickest string to the thinnest.
To tune your guitar:
- Play the 6th string (E) and adjust it to the correct pitch.
- Move to the 5th string (A) and tune that next.
- Repeat this for the 4th (D), 3rd (G), 2nd (B), and finally the 1st string (e).
If you want to use a capo, place it on the 2nd fret.
This makes it easier to play the chords while still keeping the song’s original sound.
A capo is a handy tool for many professional guitarists as it opens up new possibilities.
After tuning, check the strings for any sharp or flat notes.
Play a few chords to ensure everything sounds good together.
If something feels off, retune each string and try again.
Always remember to keep your guitar in good condition.
Regular maintenance ensures you’ll have a great sound.
Enjoy playing!
Basic Chord Shapes and Progressions
Playing “Stand By Me” starts with getting comfortable with some basic chords and the progression used in the song.
Knowing these will help you strum along smoothly.
Familiarizing with the Chords G, C, D, E, and Em
You’ll want to learn five main chords: G, C, D, E, and Em.
These shapes are the building blocks for many songs, including “Stand By Me.”
Here’s a quick guide for each chord:
- G: Place your fingers in a “3-2-0-0-0-3” shape.
- C: Use “x-3-2-0-1-0.”
- D: It’s “x-x-0-2-3-2.”
- E: Go for “0-2-2-1-0-0.”
- Em: This one is easy with “0-2-2-0-0-0.”
Practice switching between these chords so you can use them smoothly while playing.
Mastering the Chord Progression
For “Stand By Me,” you’ll repeat a simple chord progression.
The main sequence goes like this: G – Em – C – D.
You can strum this repeatedly.
Try this pattern: down, down/up, down, down.
This rhythm keeps it engaging.
Chord Progression Breakdown
- G sets you up.
- Move to Em for a smooth transition.
- C brings a welcoming feel.
- Then hit D before looping back to G.
Practice makes perfect.
Strum along with the song to lock in the timing.
This progression captures the melody beautifully and sets up the emotional vibe perfectly.
Strumming Techniques and Patterns
Getting your strumming right is key to playing “Stand By Me.” You’ll want to focus on some basics first, which will set you up for success.
Understanding the specific strumming pattern for the song will help it sound great, even if you’re an absolute beginner.
Understanding Strumming Basics
Strumming is how you create rhythm on the guitar.
It involves moving your pick or fingers across the strings.
You can strum down (toward the floor) or up (toward the ceiling).
For beginners, start with down strumming.
This is simpler and helps you maintain a steady beat.
Once you’re comfortable, try mixing in up strums to add variety.
Here are a few key tips:
- Relax your wrist. A loose wrist makes it easier to strum smoothly.
- Practice with a metronome. Keeping time will improve your rhythm.
- Use even pressure. This helps create a consistent sound.
With practice, you’ll find your groove and feel more confident while playing.
Strumming Pattern for ‘Stand By Me’
The strumming pattern for “Stand By Me” is essential for capturing its feel.
A popular pattern to use is D-DU-UDU, which breaks down like this:
- D = Down strum
- U = Up strum
This means you strum down on the first beat, then down-up on the second, and up-down-up on the third and fourth beats.
This creates a nice flow perfect for the song’s rhythm.
Try practicing this pattern slowly at first.
Once you feel comfortable, speed it up.
It might help to play along with the song or use a backing track.
With some time and practice, you’ll be able to strum along smoothly, making it easy for you to enjoy playing “Stand By Me.”
Playing Through ‘Stand By Me’
Playing “Stand By Me” is all about mastering the verses and nailing that unforgettable chorus.
With its simple chords and smooth transitions, you’ll be playing along in no time.
Learning the Verses
To start, you’ll focus on the verses.
This song uses a common chord progression: A, F#m, D, and E.
Each chord is played for one measure.
- A major: Place your index finger on the second fret of the D string, middle finger on the second fret of the G string, and ring finger on the second fret of the B string.
- F#m: Slide your index across the second fret to create a barre chord, while your ring finger goes on the fourth fret of the A string.
- D major: Move to the fourth fret for the first three strings.
- E major: Finally, play E by pressing down the first fret of the G string.
Practice the transitions slowly.
After you feel comfortable, speed it up to match the rhythm of the song.
Nailing the Chorus
The chorus brings a bit more energy to the song.
You’ll stick with the same chords but change their order to A, D, and E.
- Start with A: This signals the beginning of the chorus.
- Move to D: This chord brightens the sound and lifts your play.
- Finish with E: It adds a sense of resolution and leads back into the verse smoothly.
Strum steadily and pay attention to the rhythm.
You can add dynamics by strumming harder during the chorus, which enhances the song’s emotion.
Practicing these sections separately will help you feel confident when playing “Stand By Me” in full.
Frequently Asked Questions
You probably have some questions about playing “Stand By Me” on guitar.
Here are the answers to help you get started.
What chords do I need to play Stand by Me on guitar?
To play “Stand By Me,” you’ll need a few basic chords.
The main chords used are G, Em, C, and D. These chords repeat throughout the song, making it easy to follow.
Can I learn Stand by Me on guitar as a beginner?
Absolutely! “Stand By Me” is a great song for beginners.
The chord progressions are simple, and you can practice strumming without feeling overwhelmed.
What’s the strumming pattern for Stand by Me?
A popular strumming pattern for this song is “down, down/up, down, down.” This pattern helps maintain the song’s rhythm and keeps it sounding smooth.
How can I play Stand by Me on guitar without a capo?
You can play “Stand By Me” without a capo by using the original chords in their standard positions.
Just stick to the G, Em, C, and D chords to capture the song’s feel.
Are there any easy versions of Stand by Me for guitar?
Yes! There are many easy versions of “Stand By Me” available.
These often simplify the chords or provide fingerpicking options that suit beginners.
Does the Oasis version of Stand by Me have a different guitar technique?
Yes, the Oasis version features a unique guitar arrangement.
They use a combination of picking and strumming.
This gives it a fresh sound while still being based on the original chords.